Good to Know: DIY Holiday Swag
We love decorating for the holidays and in recent years have found we love the look of a swag to break up the wreaths we also have hanging around. For today's Good to Know, we put together our simple and fool-proof tutorial on how to make a pretty holiday swag, wrapped with ribbons and bells, of your own.

Supplies
Fresh, dried or faux holiday greens
Ribbon
Bells or other flourishes like dried oranges or pine cones
Pruning shears
Scissors
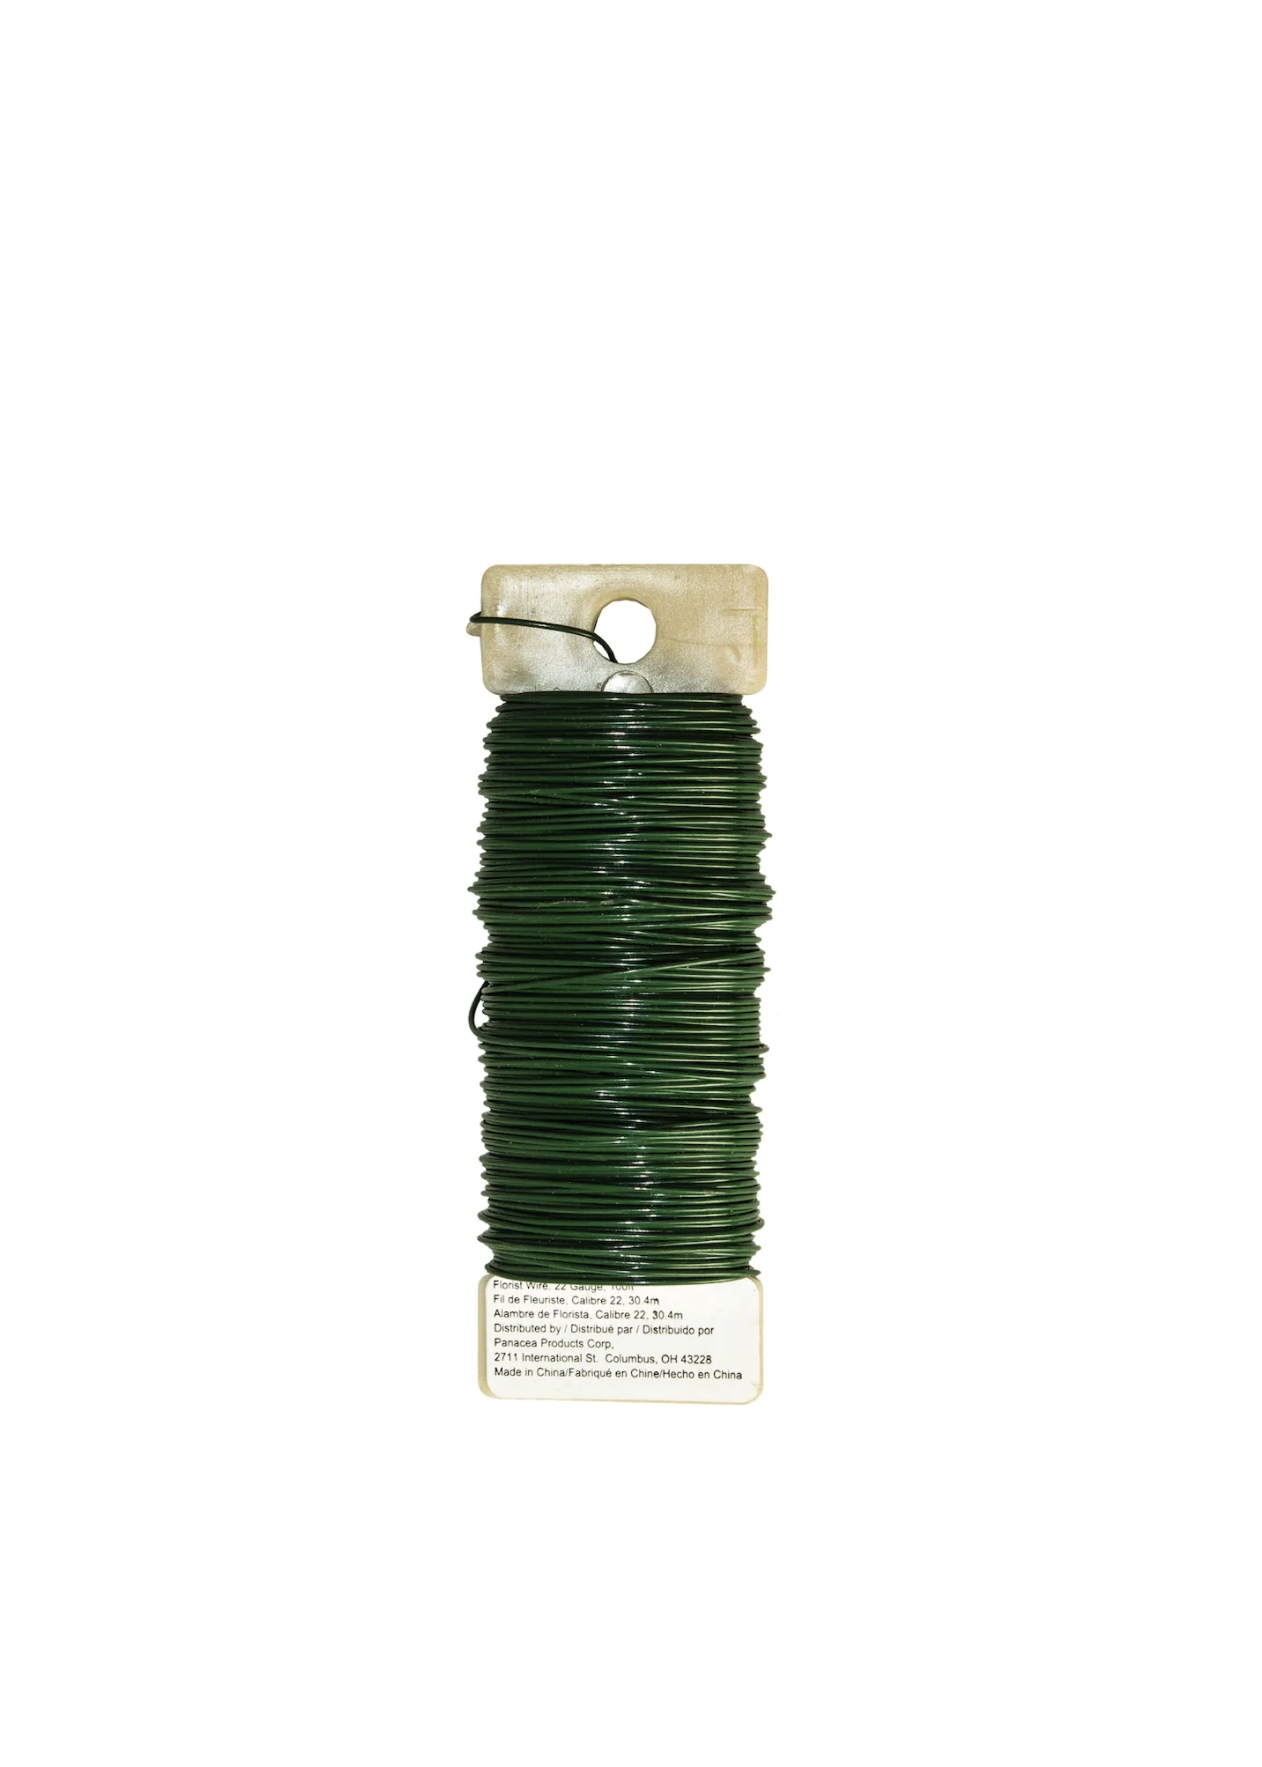
Florist wire
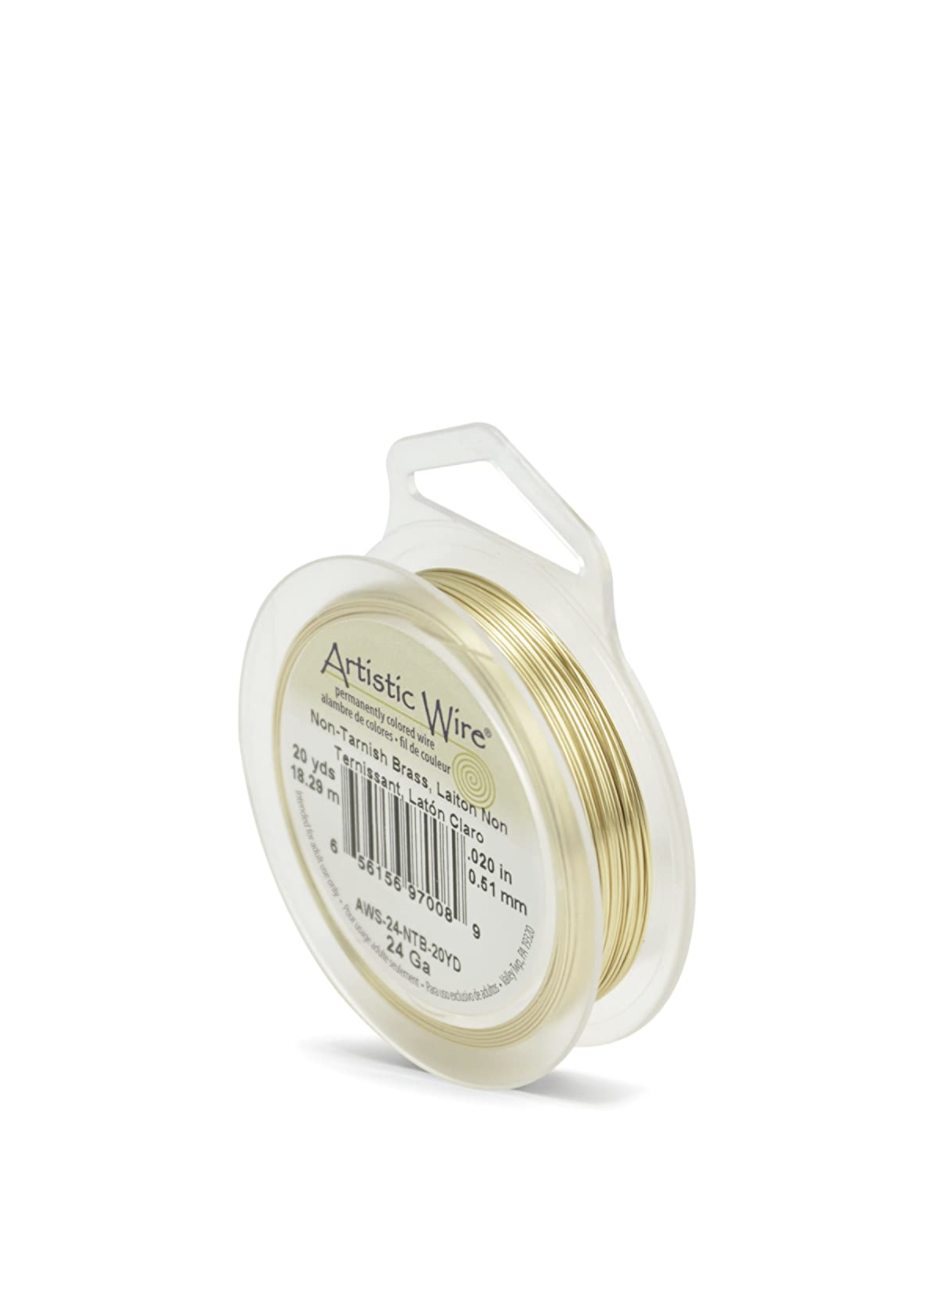
Metallic wire
Leather cord
Fresh greenery
Ribbons
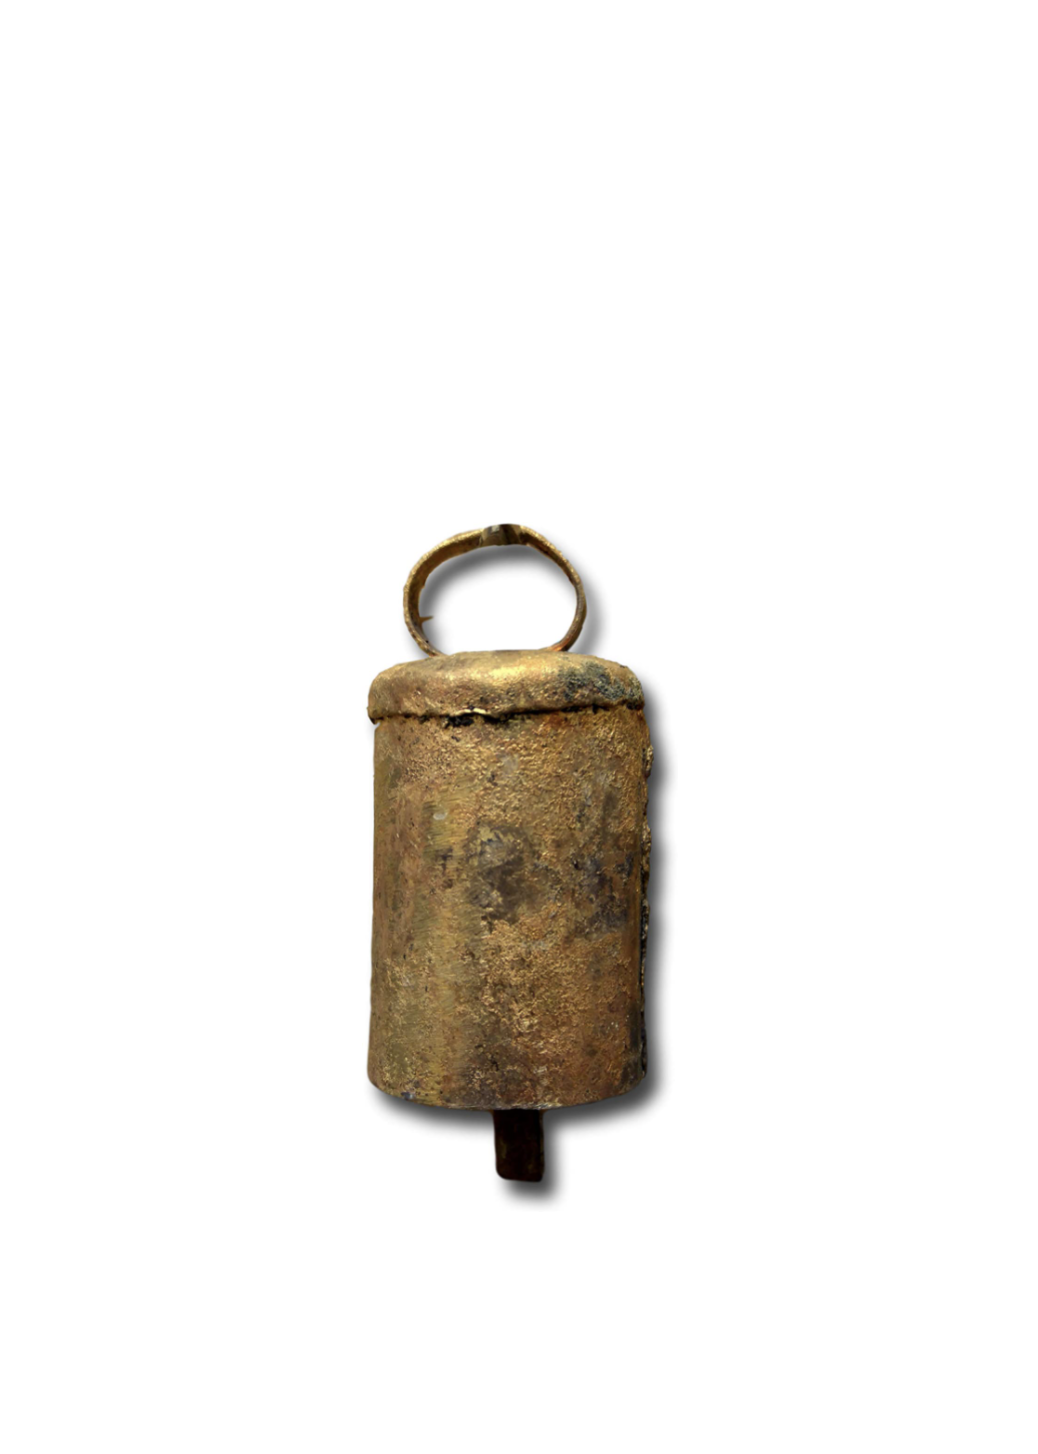
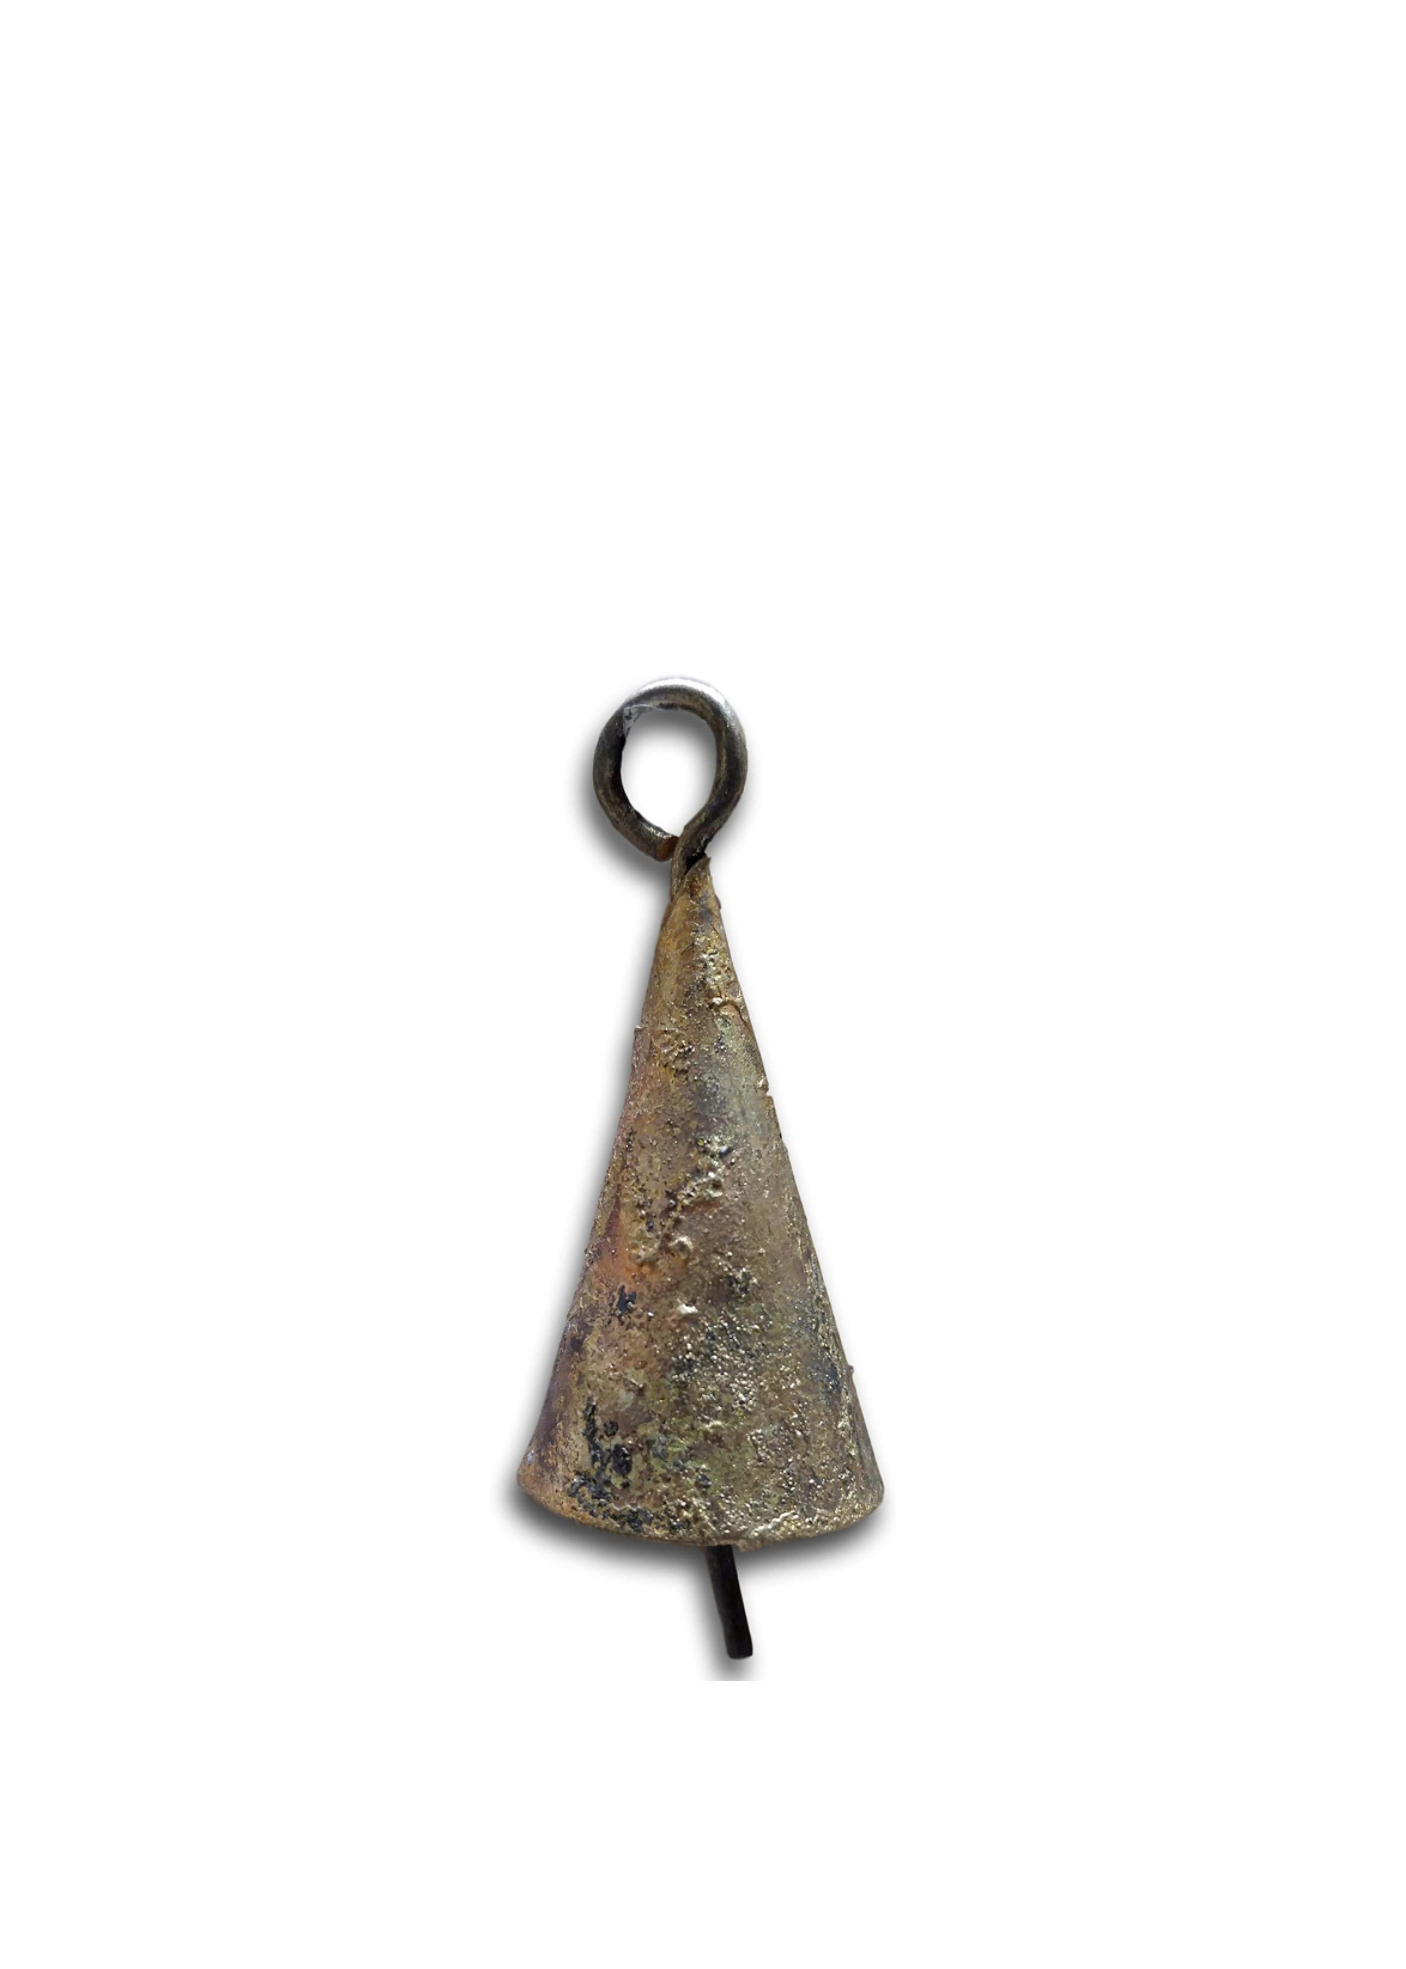
Bells
Goo-gone (to get the sap off anything it happens to find)
Step 1: Gather Greenery
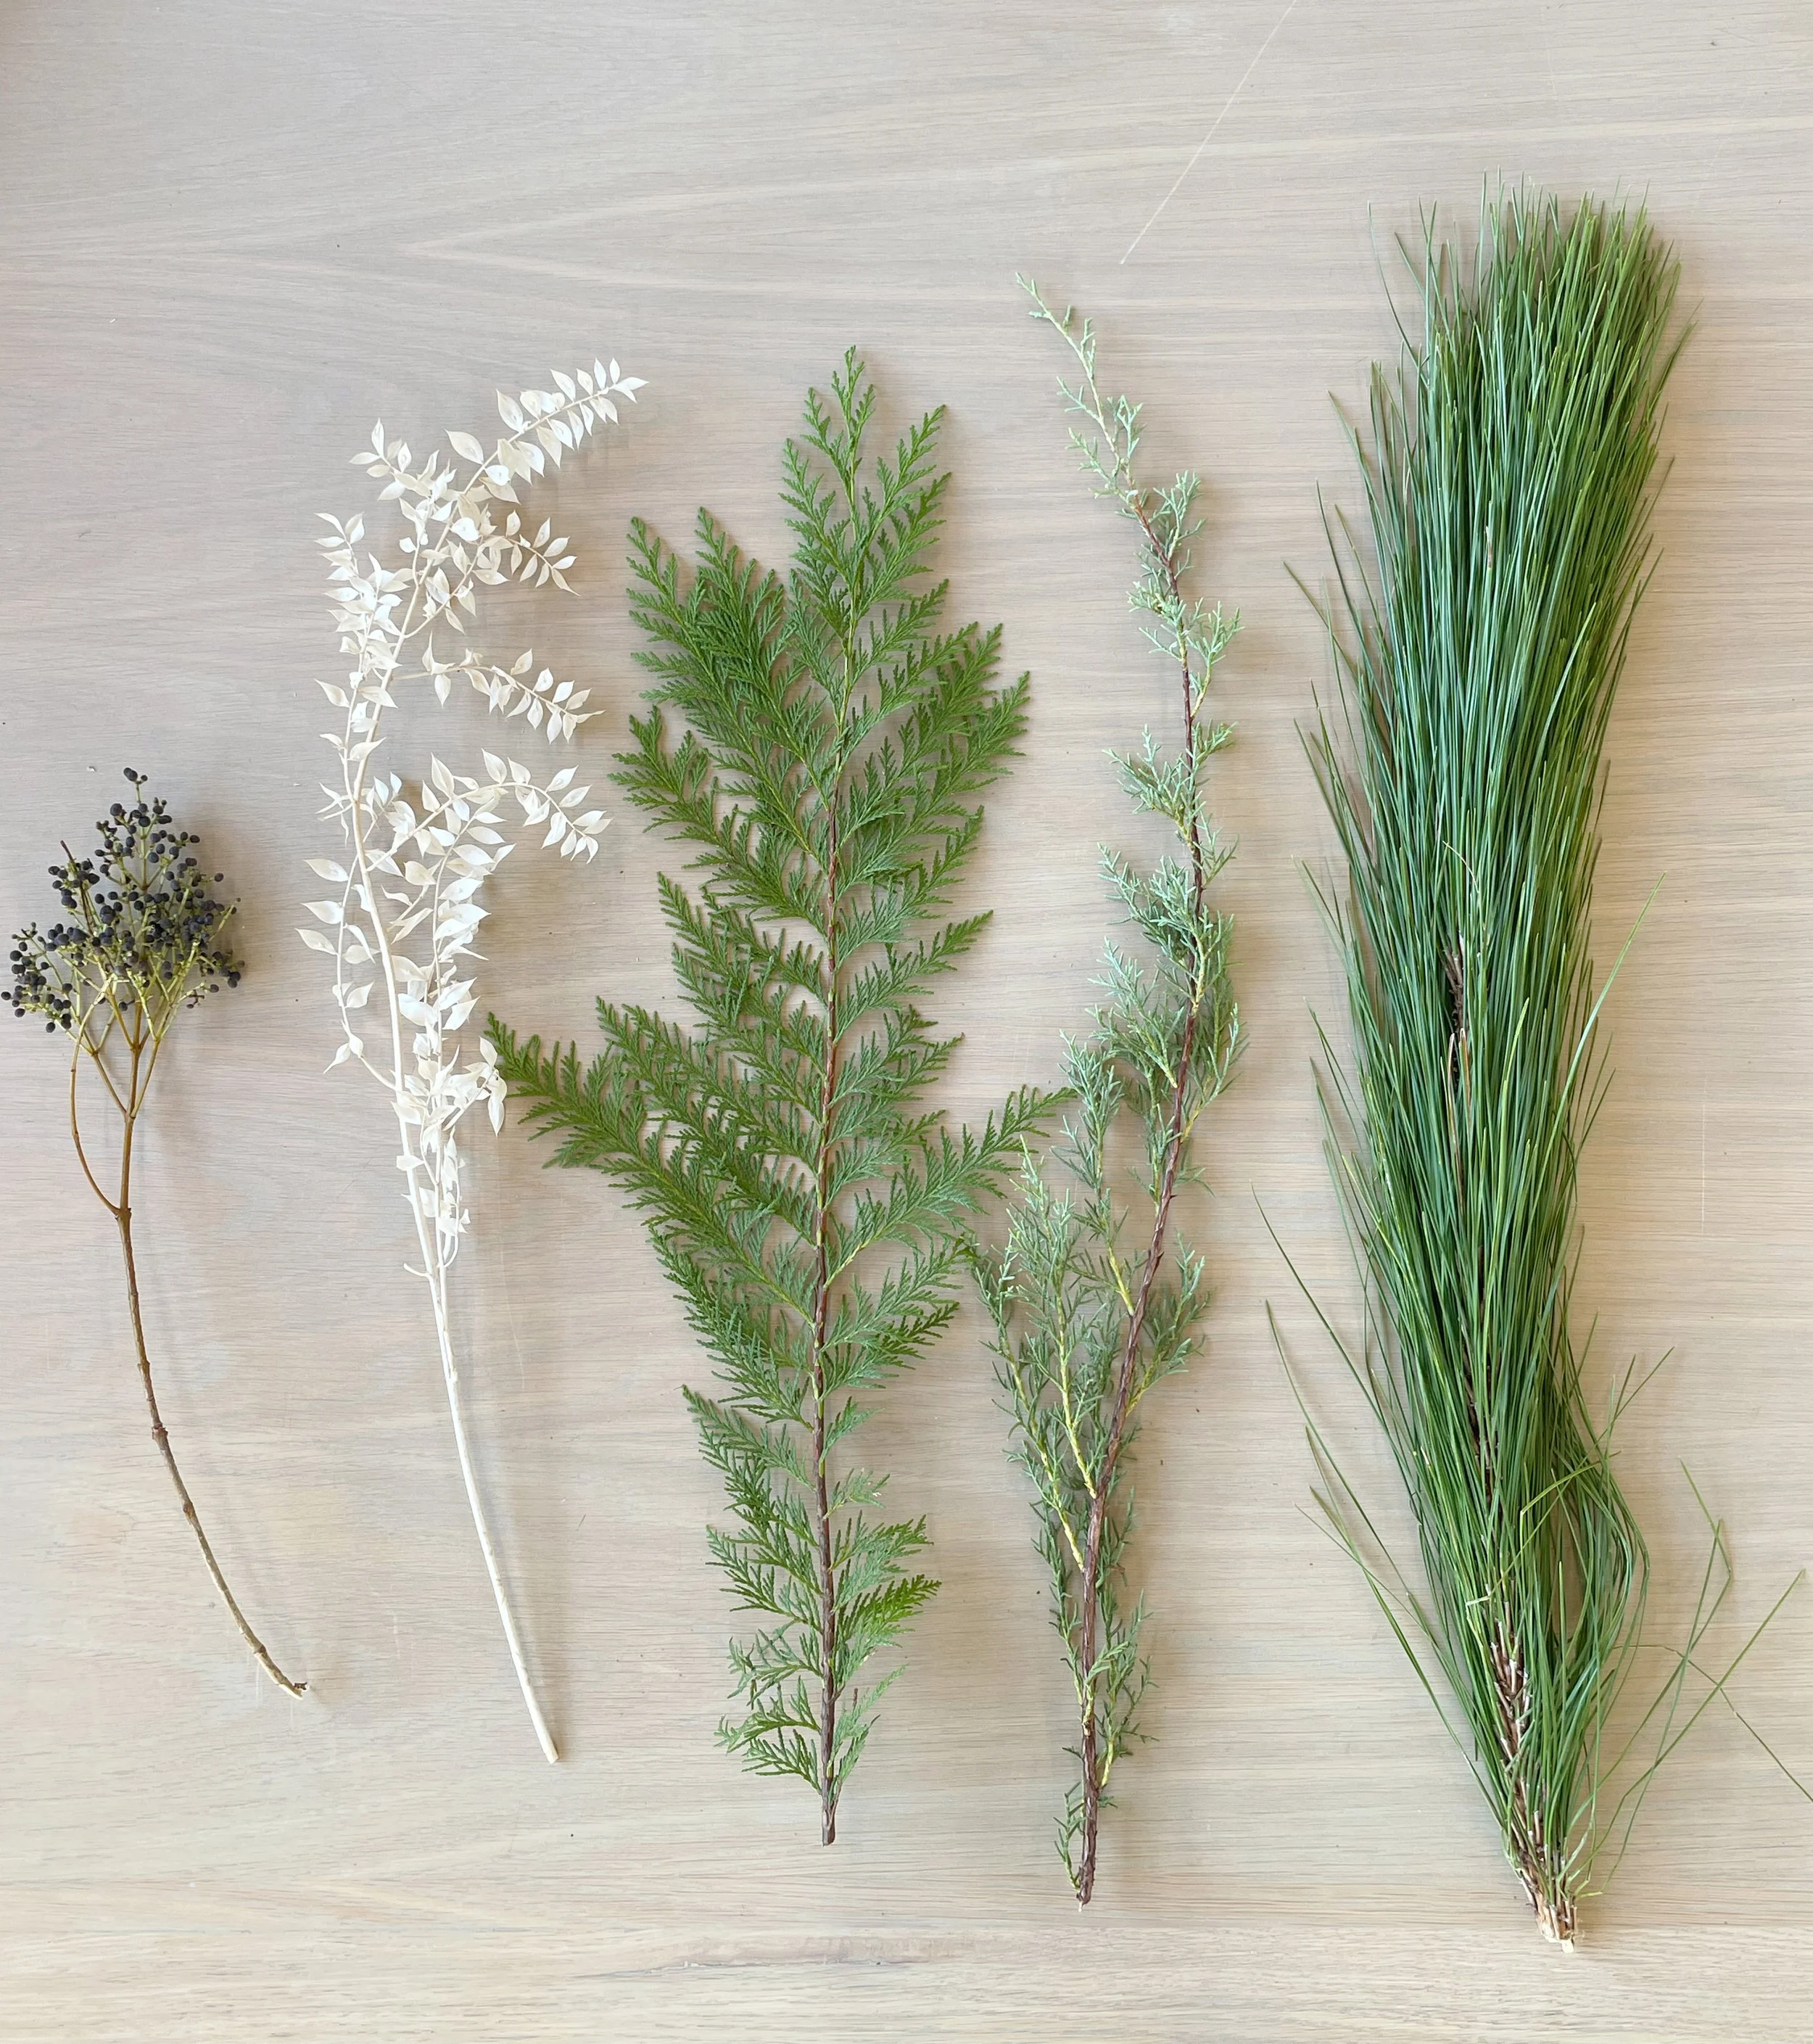
Greens we used:
Port Orford Cedar
Long Needle Pine
Carolina Sapphire
Privet Berry
Salt Lake sources to try:
Cactus and Tropicals
Bloomingsales
Western Gardens
Petal Coop
Trader Joe’s
Smith’s
Look for different lengths, textures and tones of green. You can add a berry, eucalyptus or even a dried floral for added layers and texture. Ensign Wholesale Floral is where we got ours however many florists, nurseries and even grocery stores sell loose stems of greens this time of year.
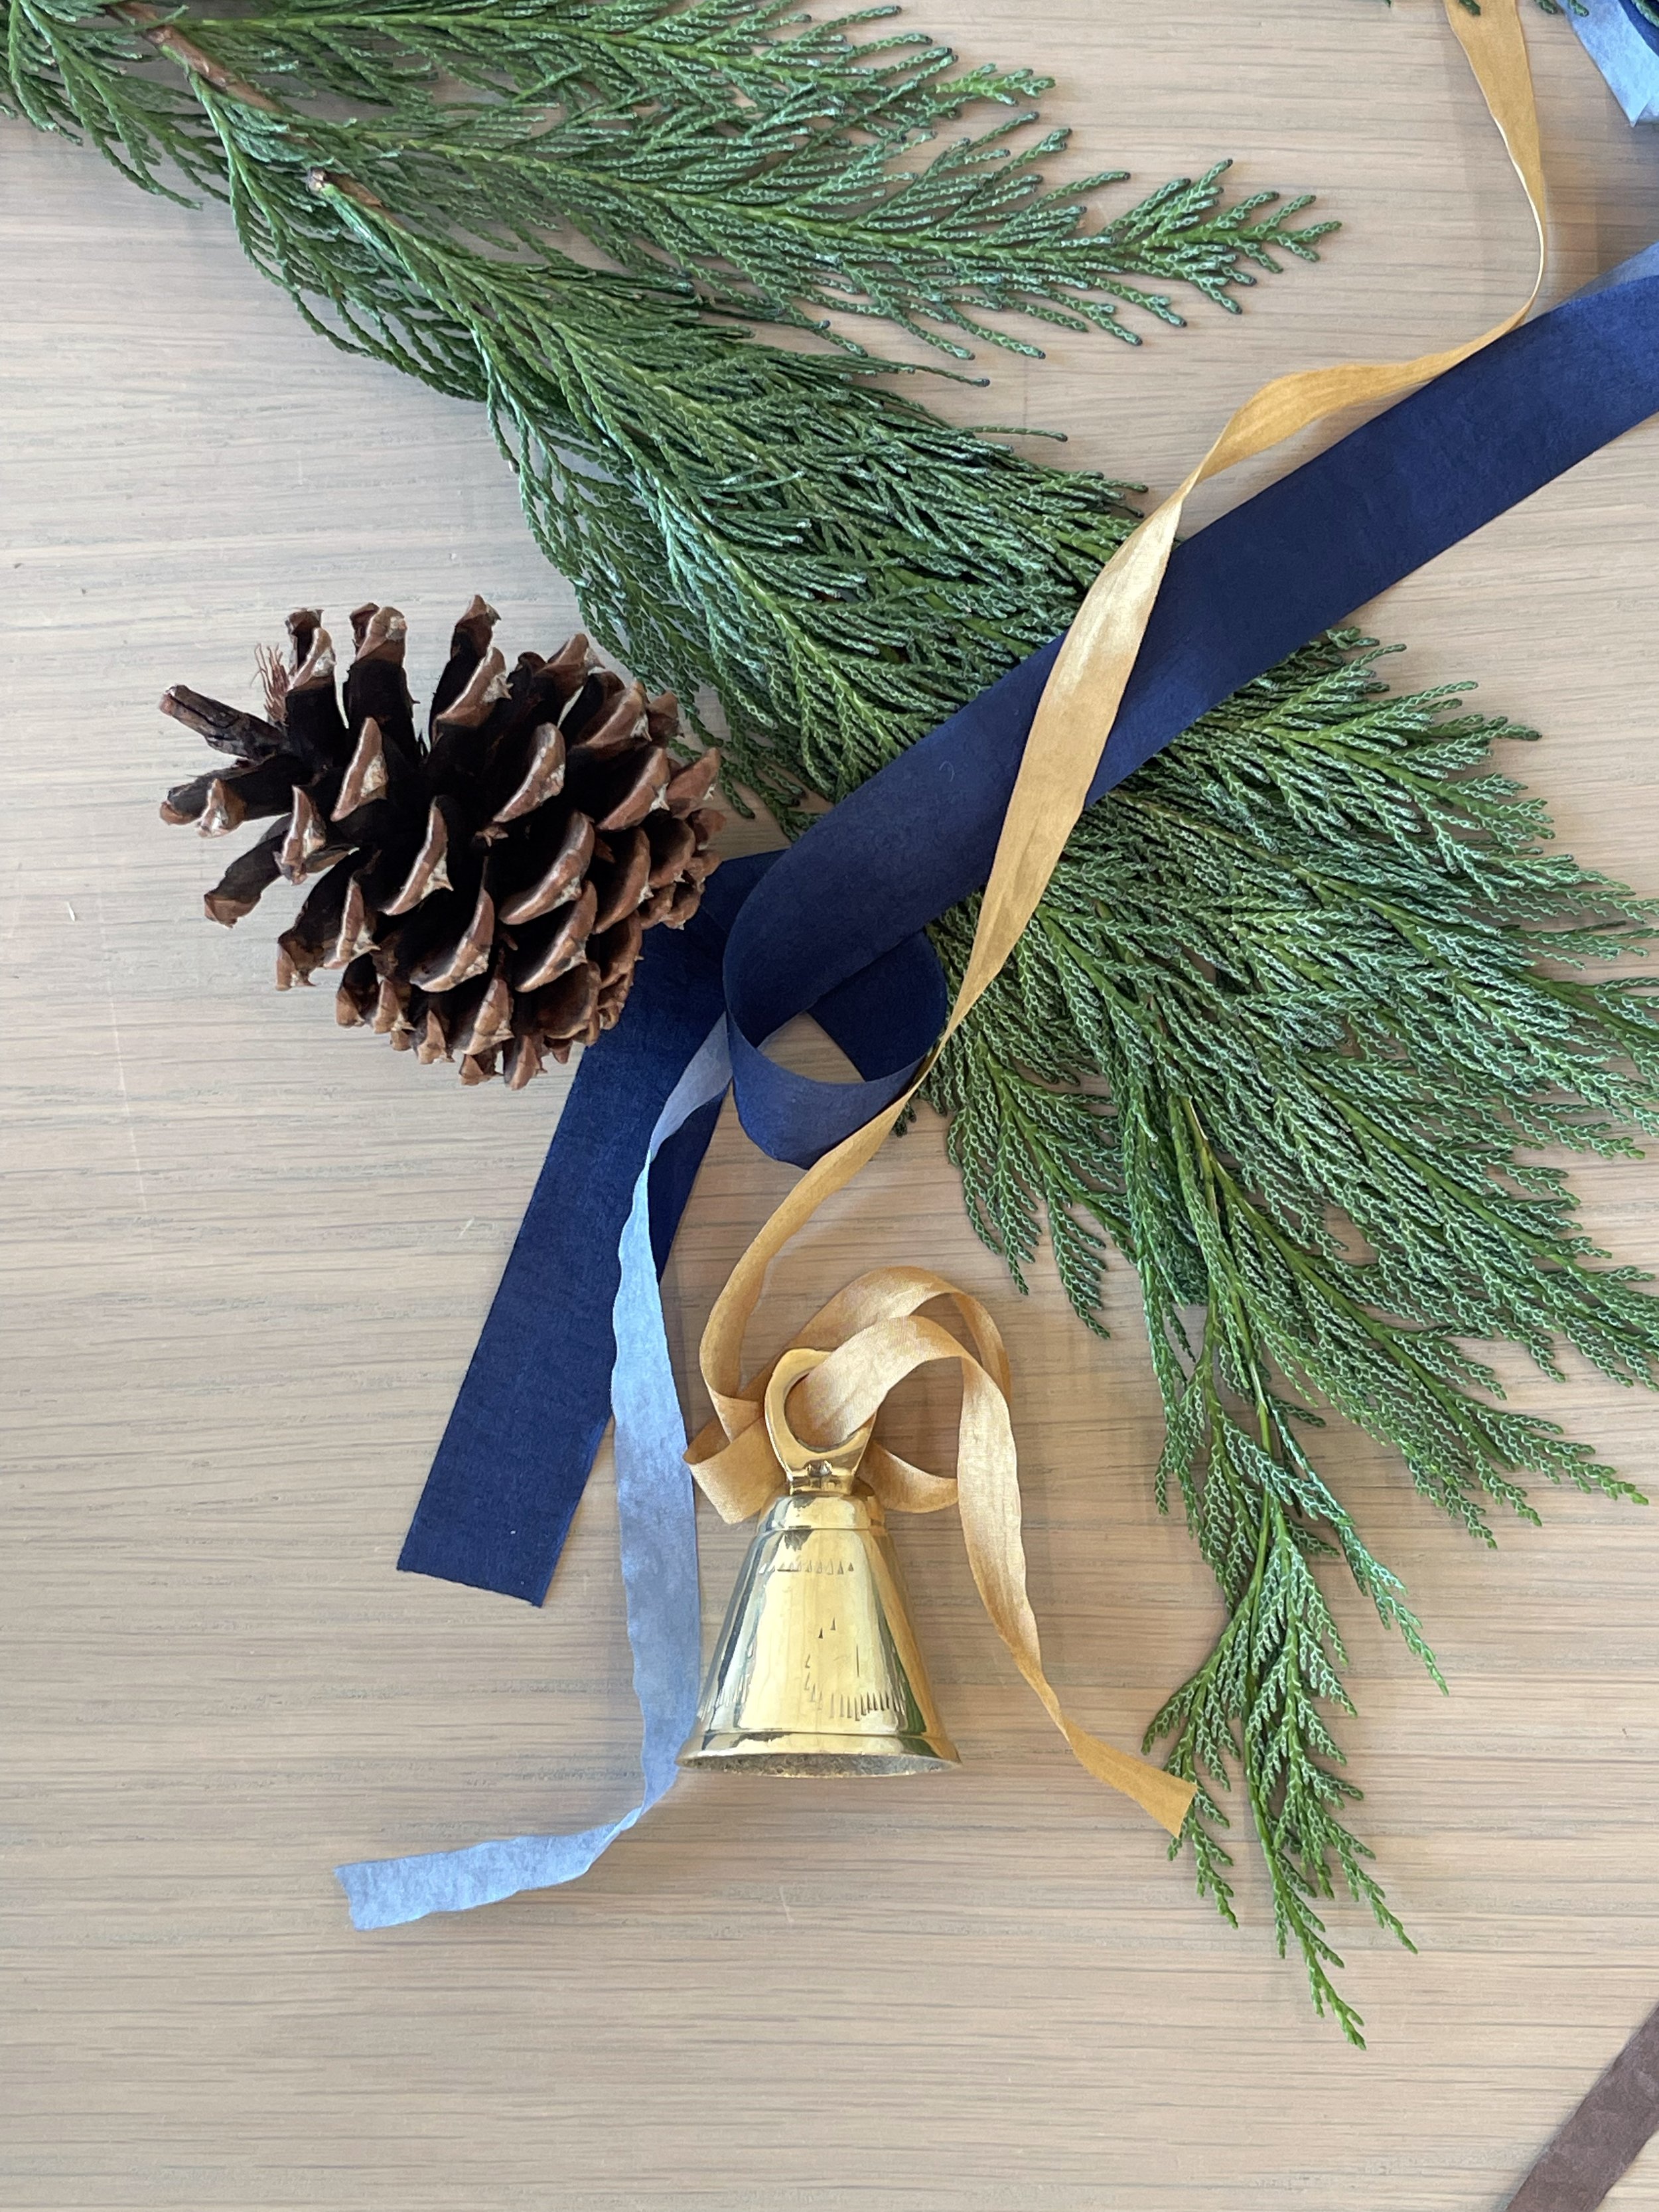
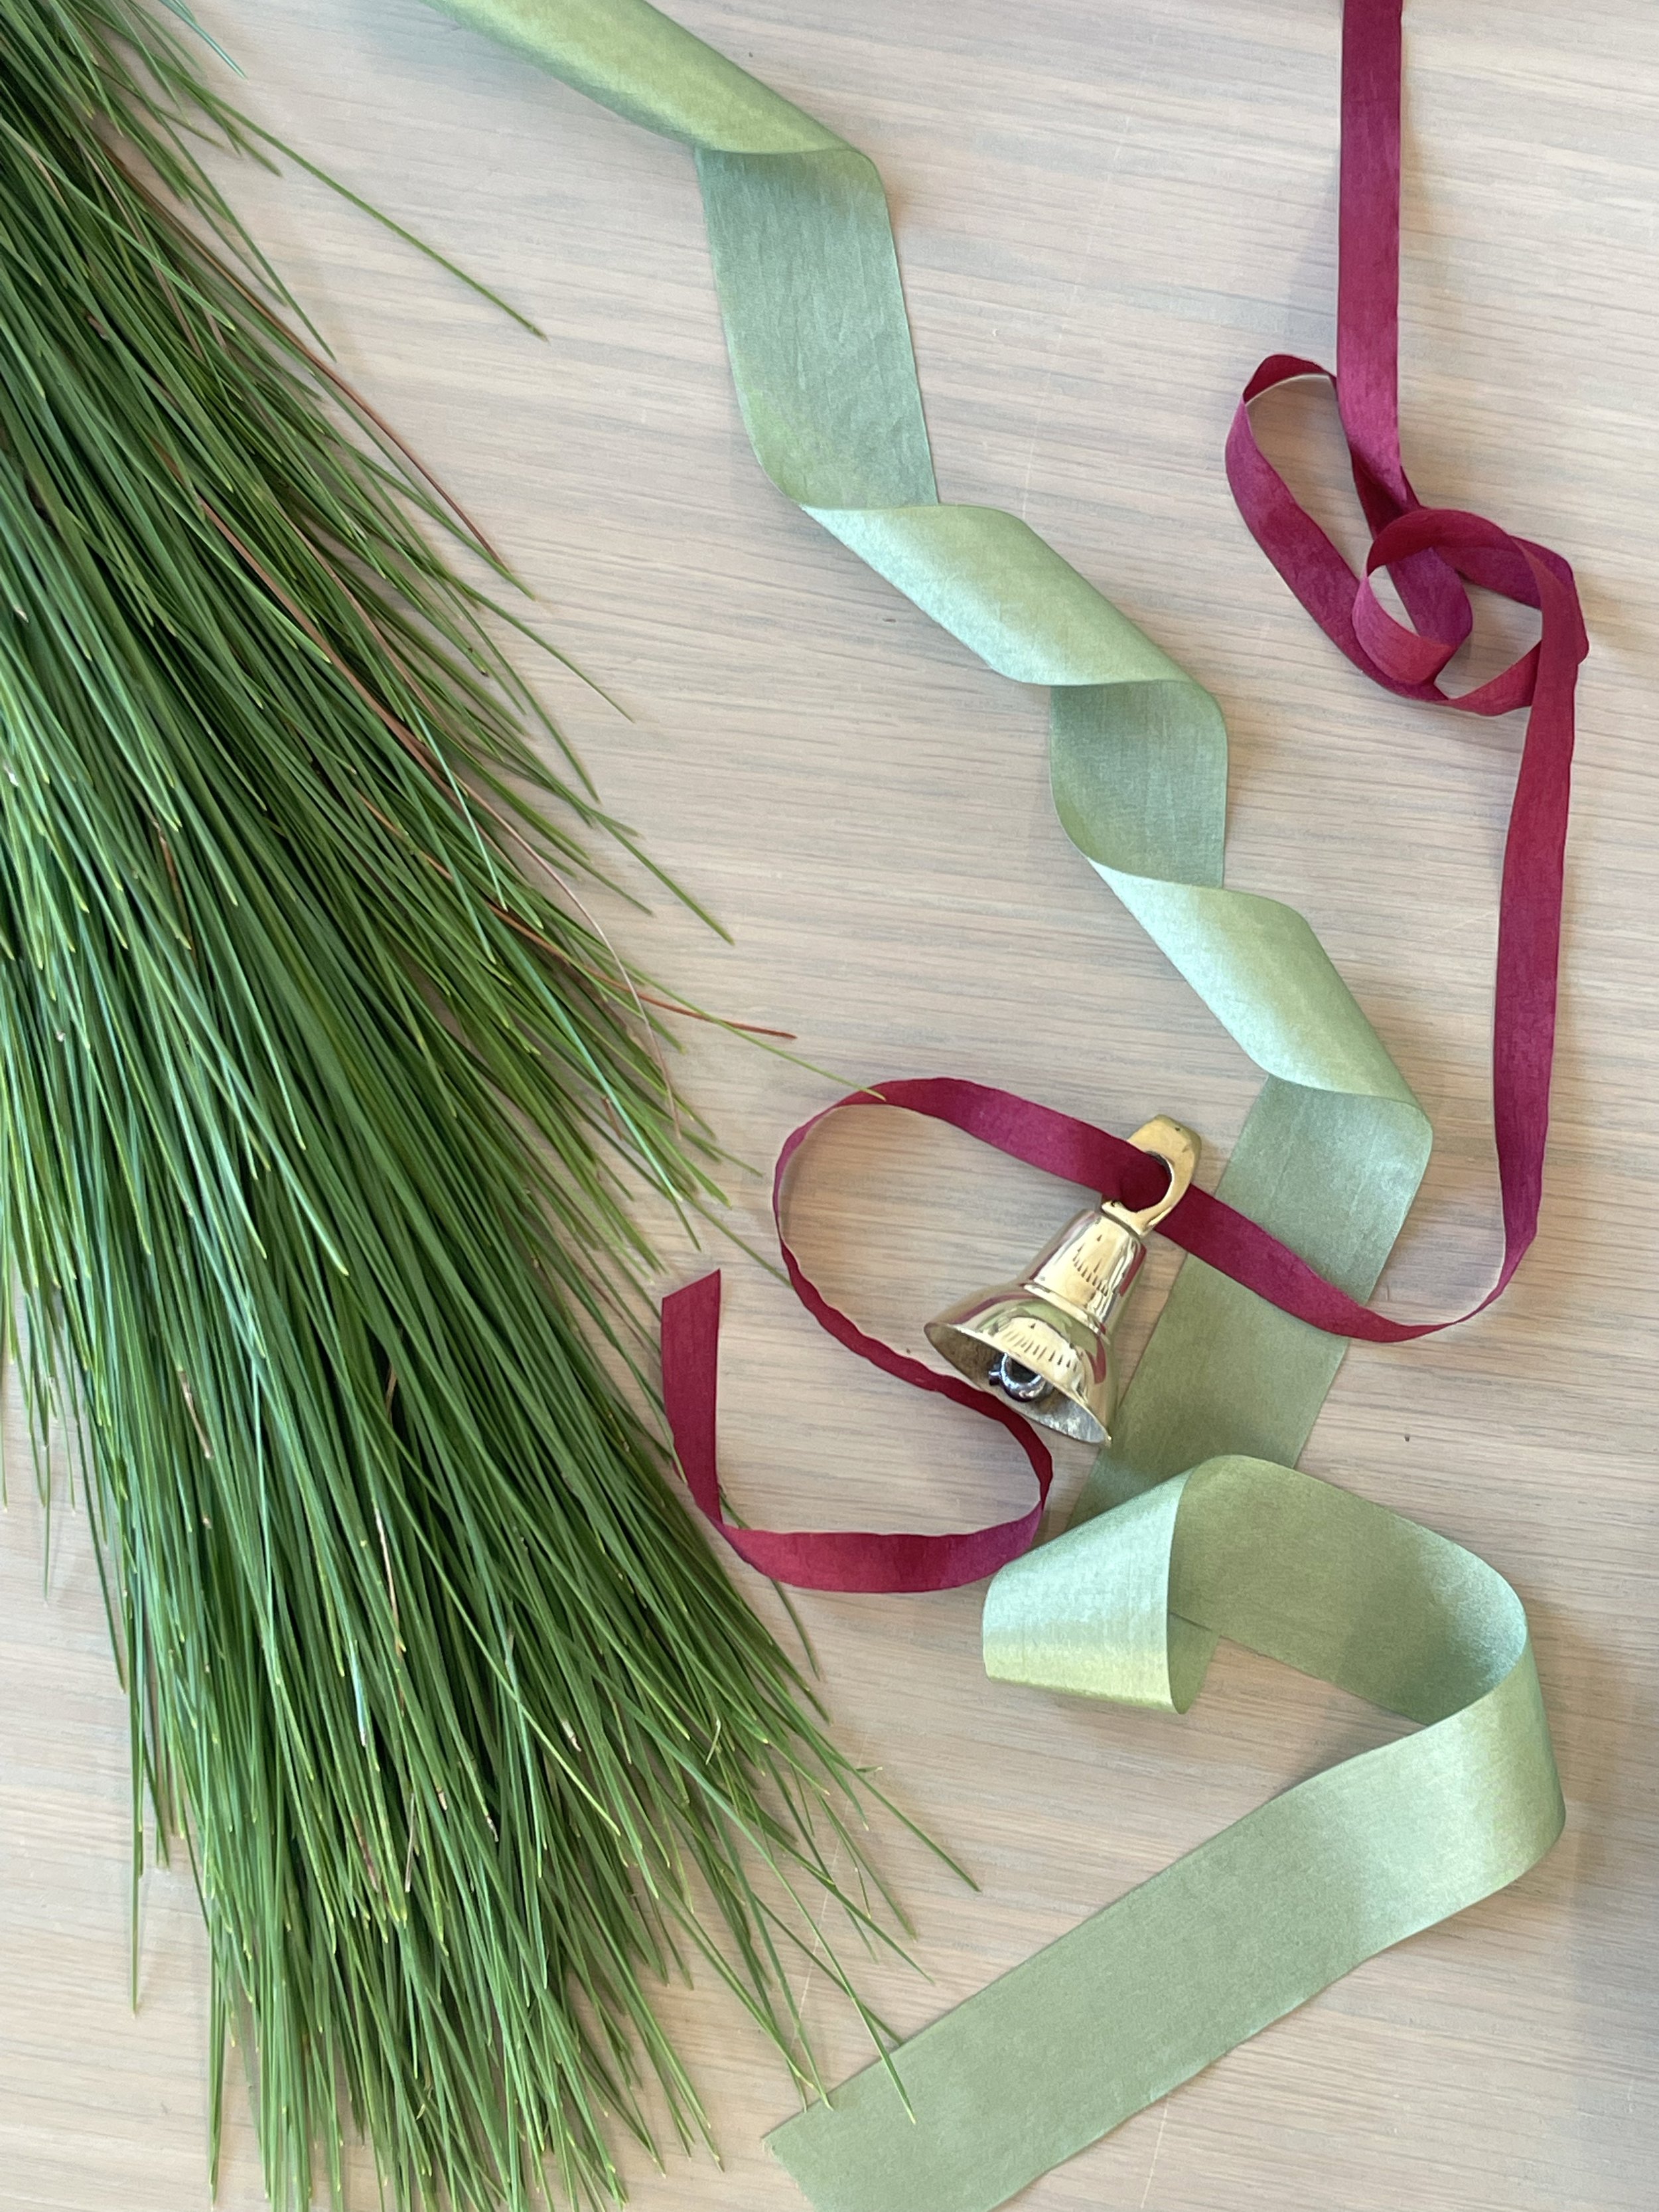
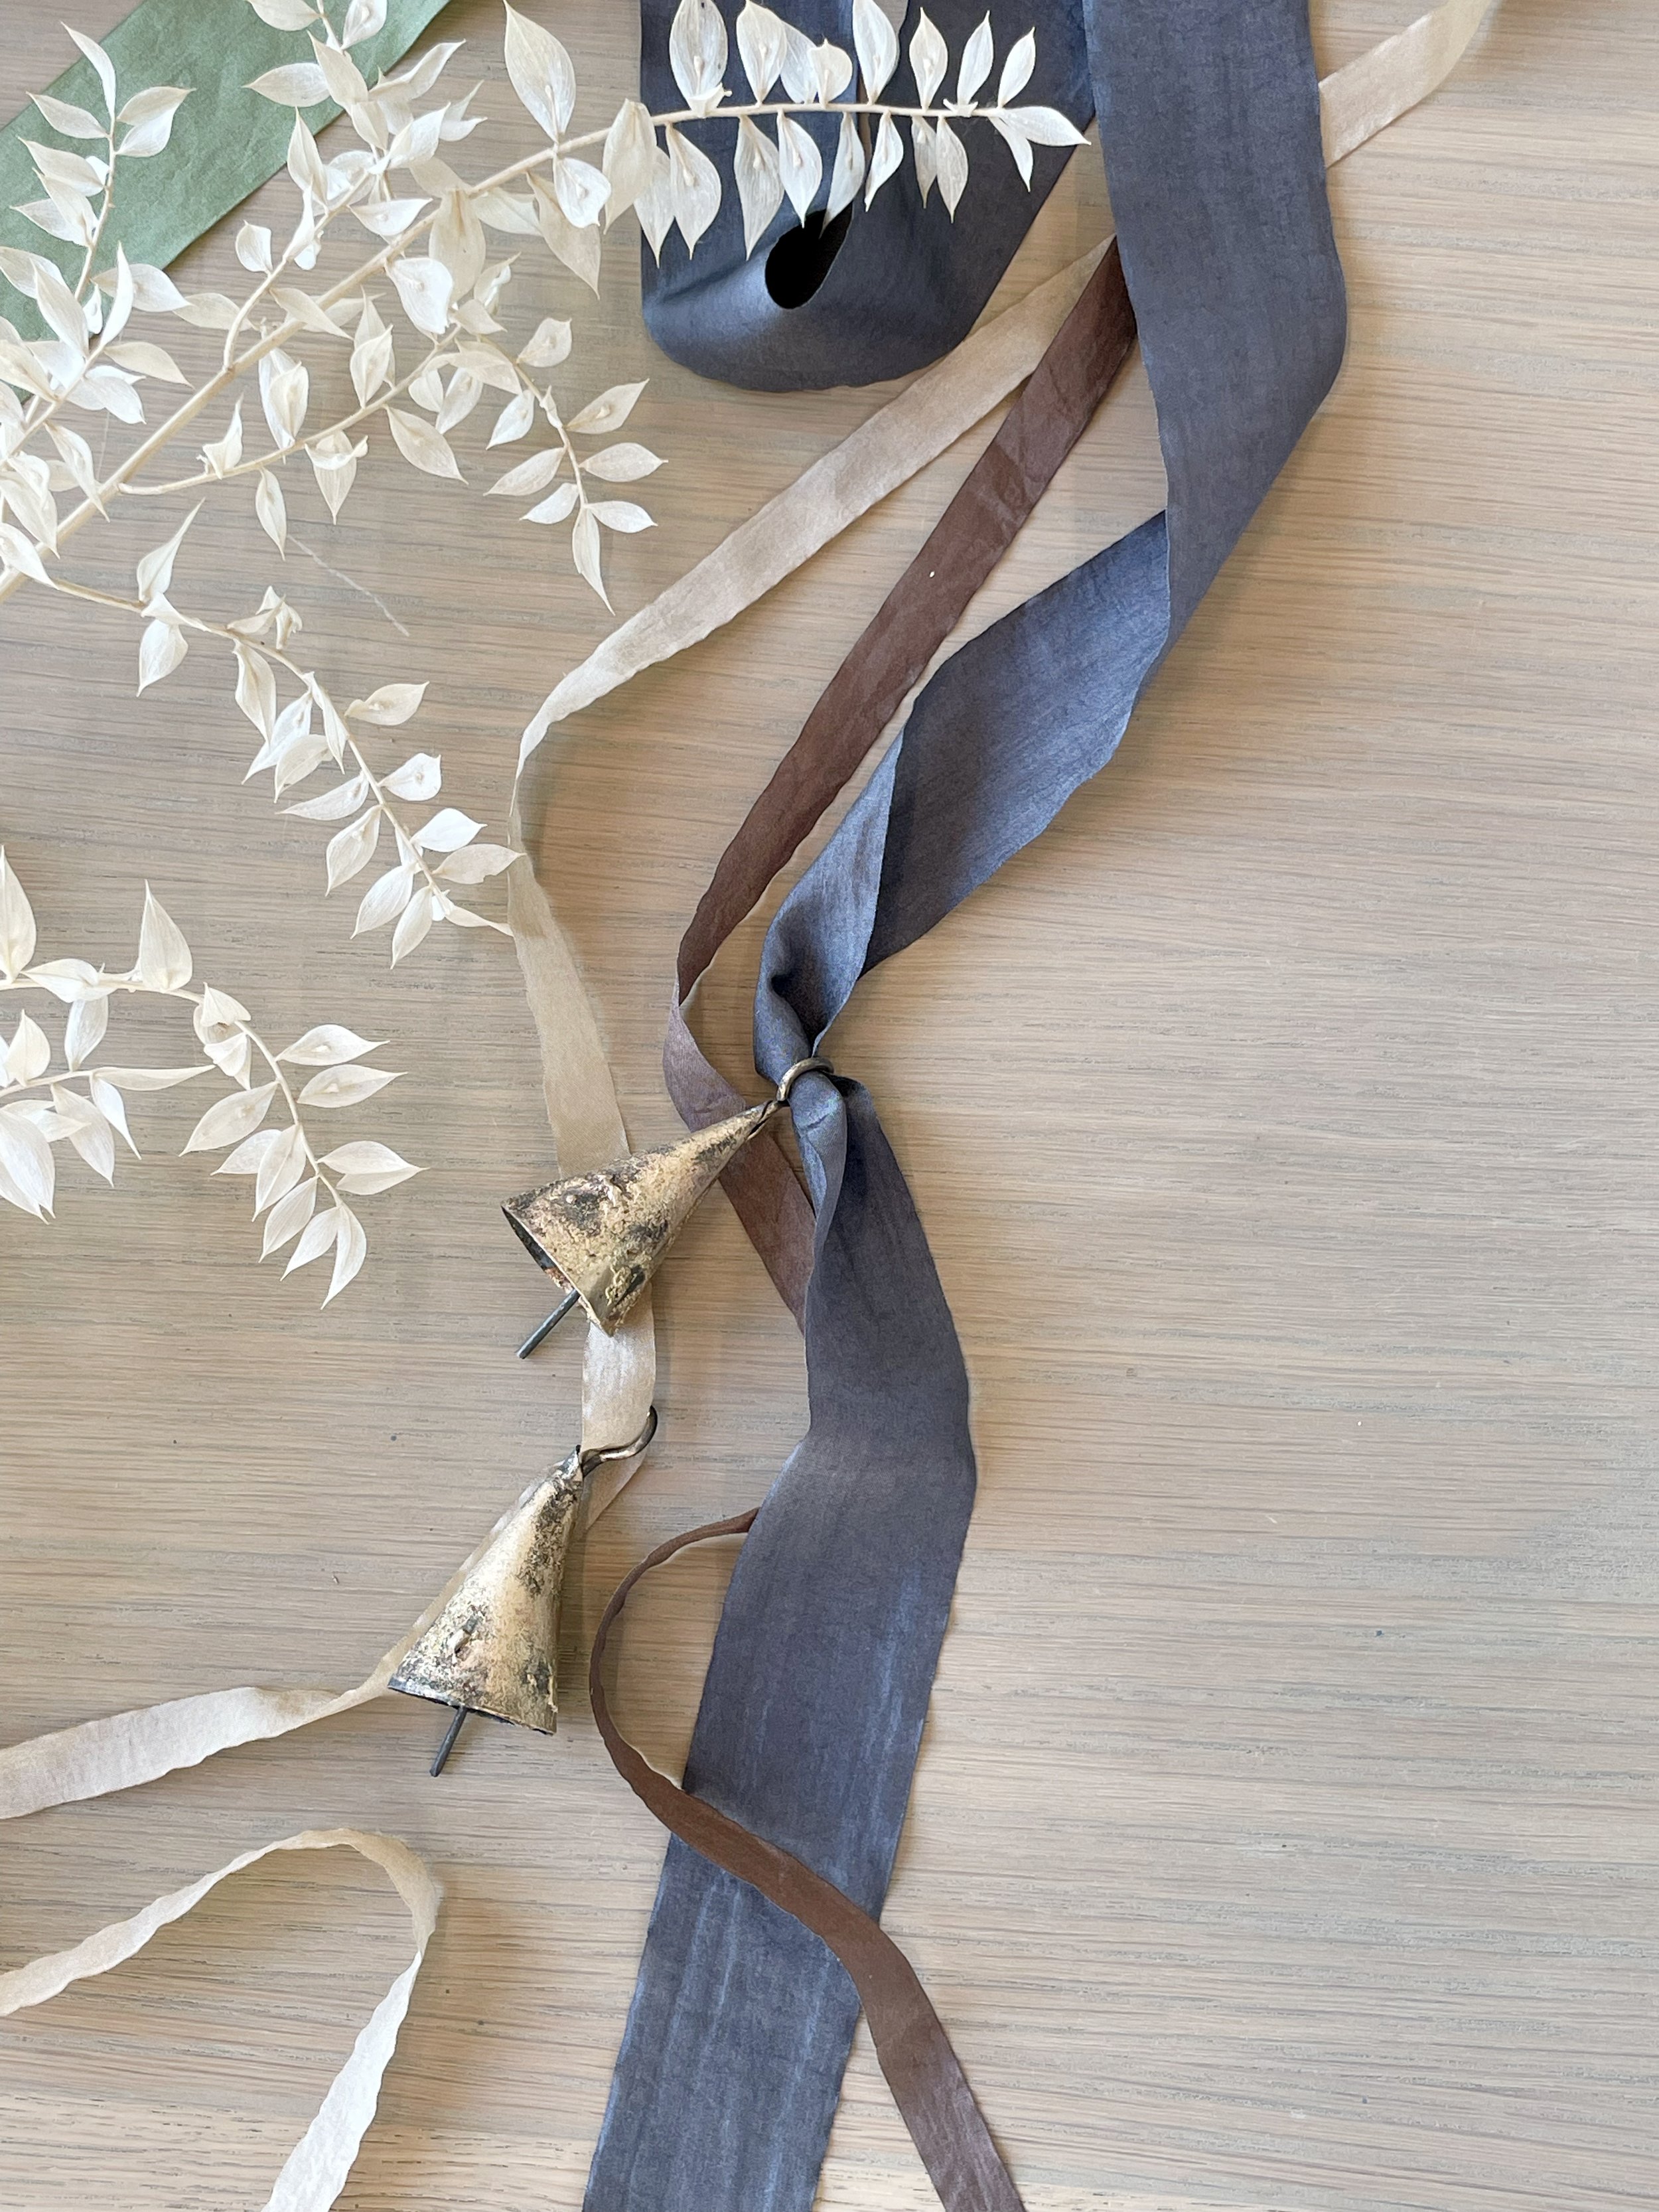
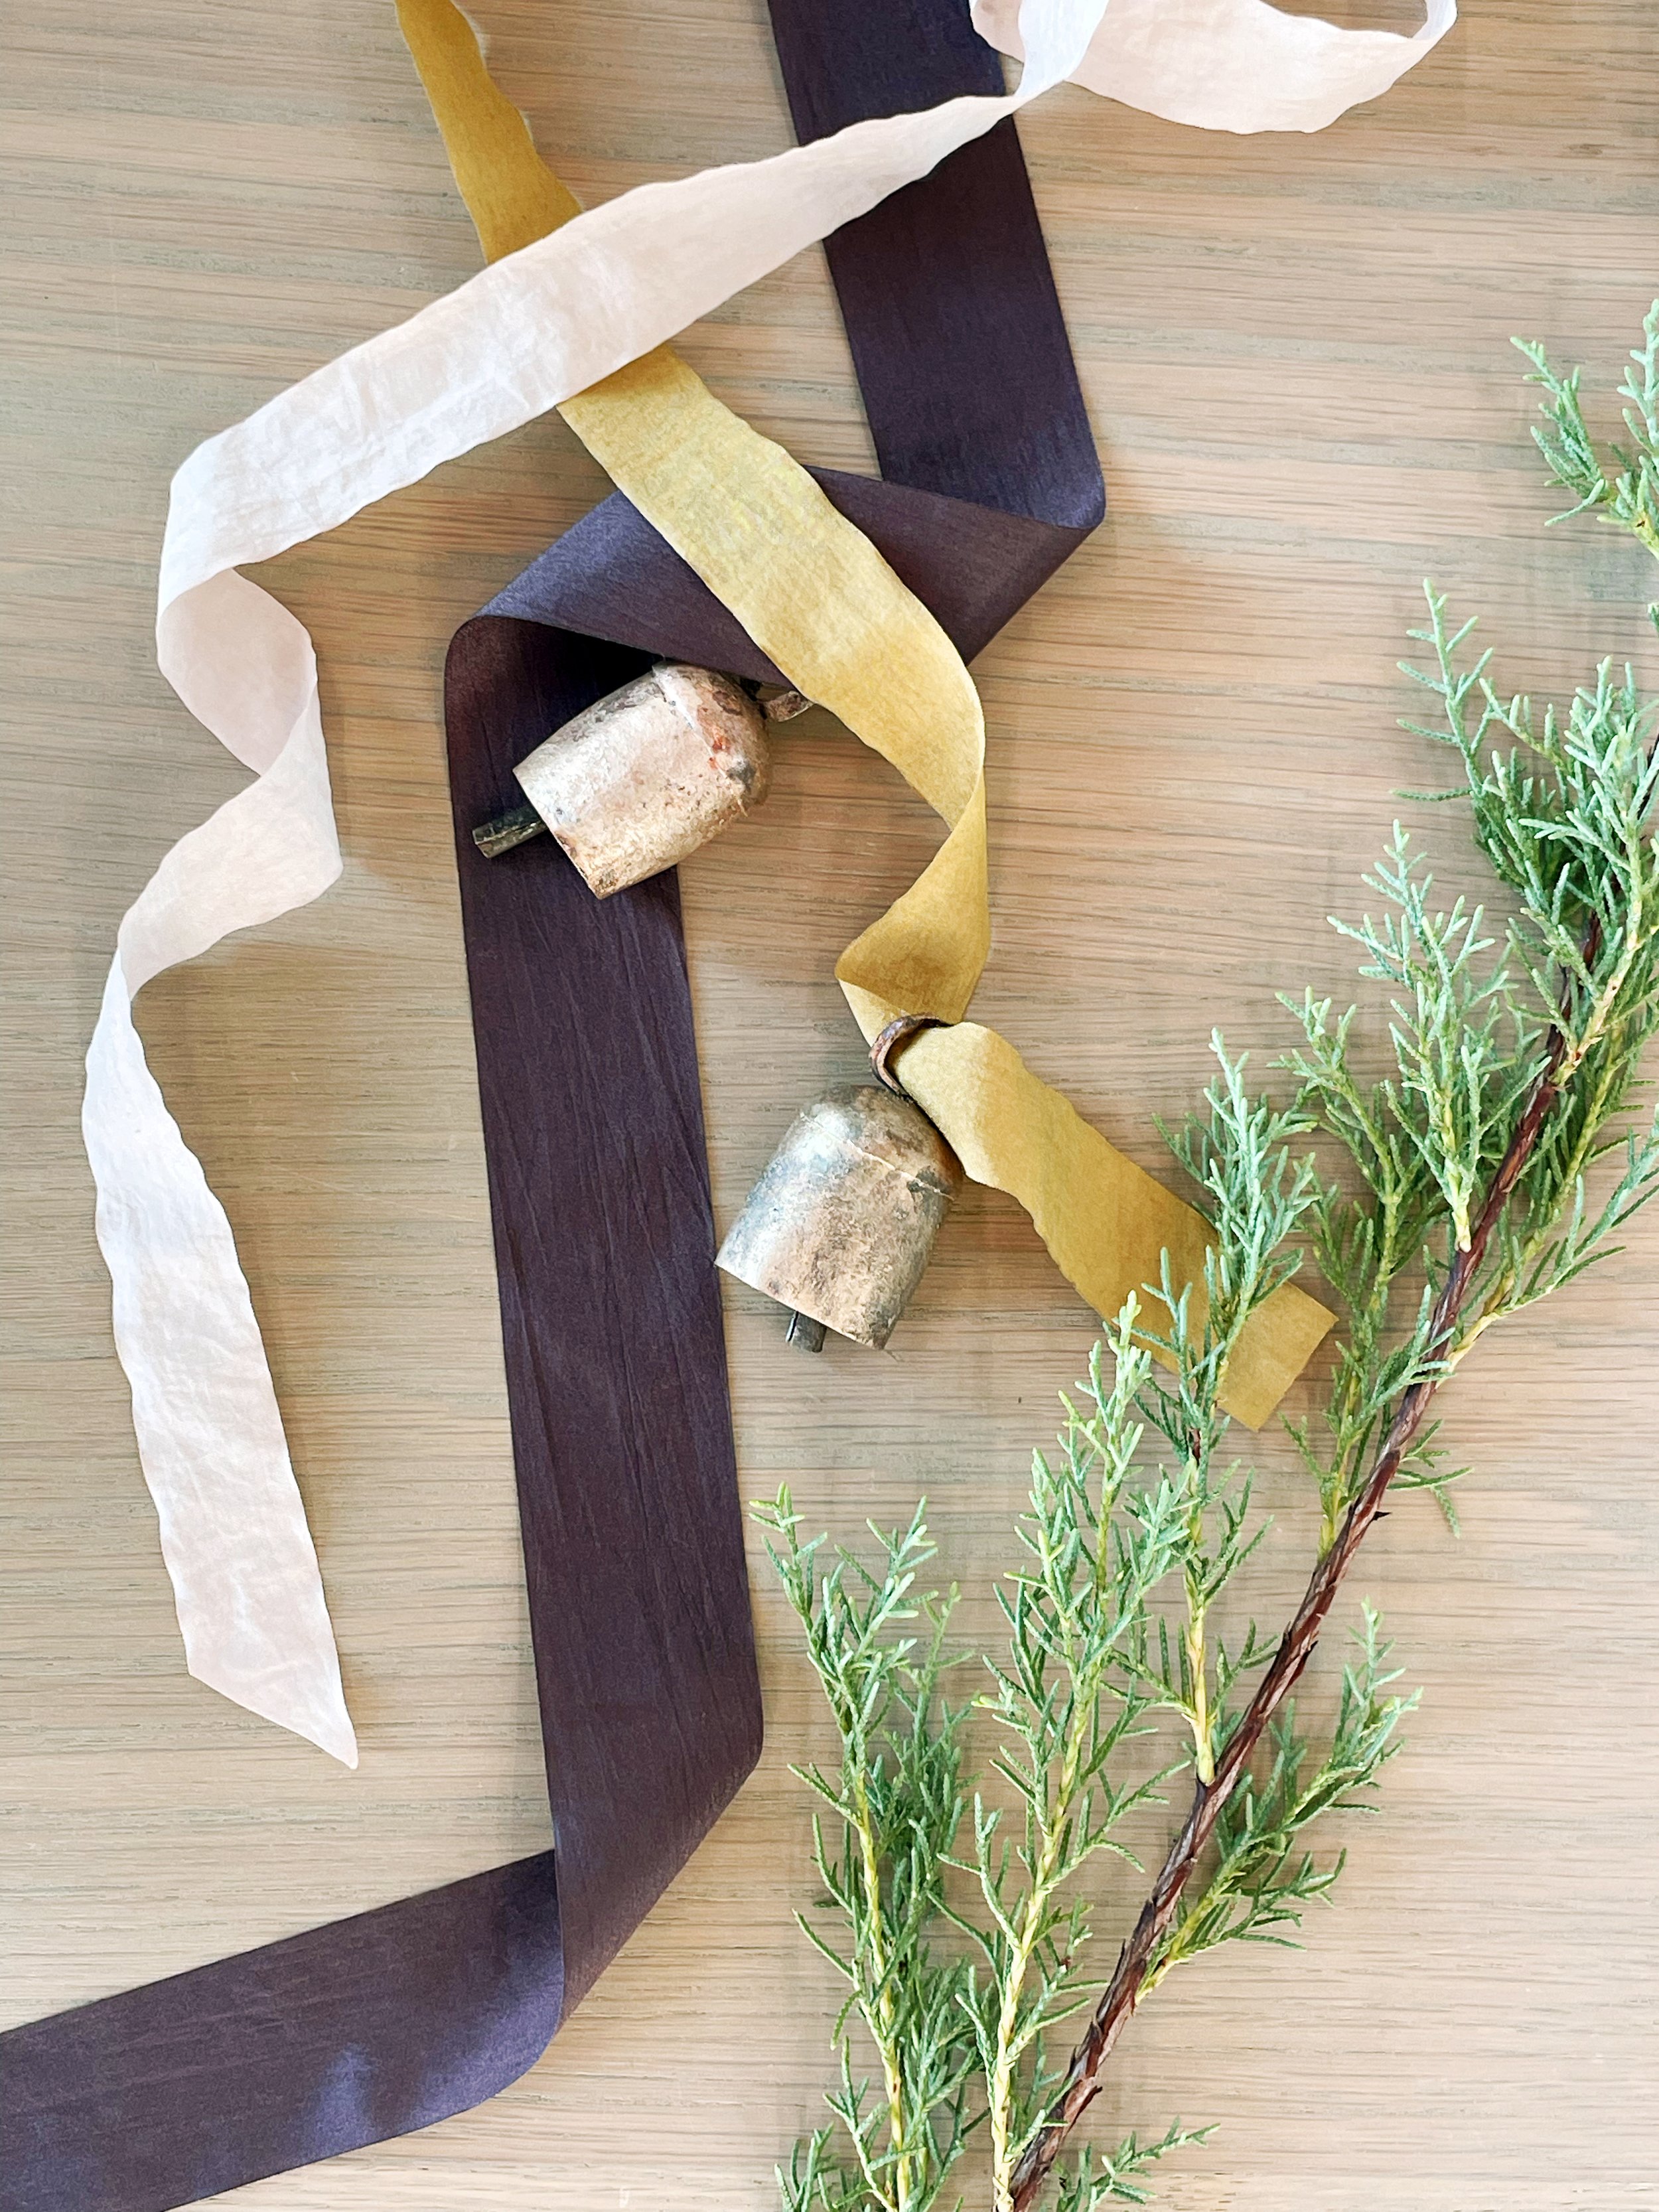
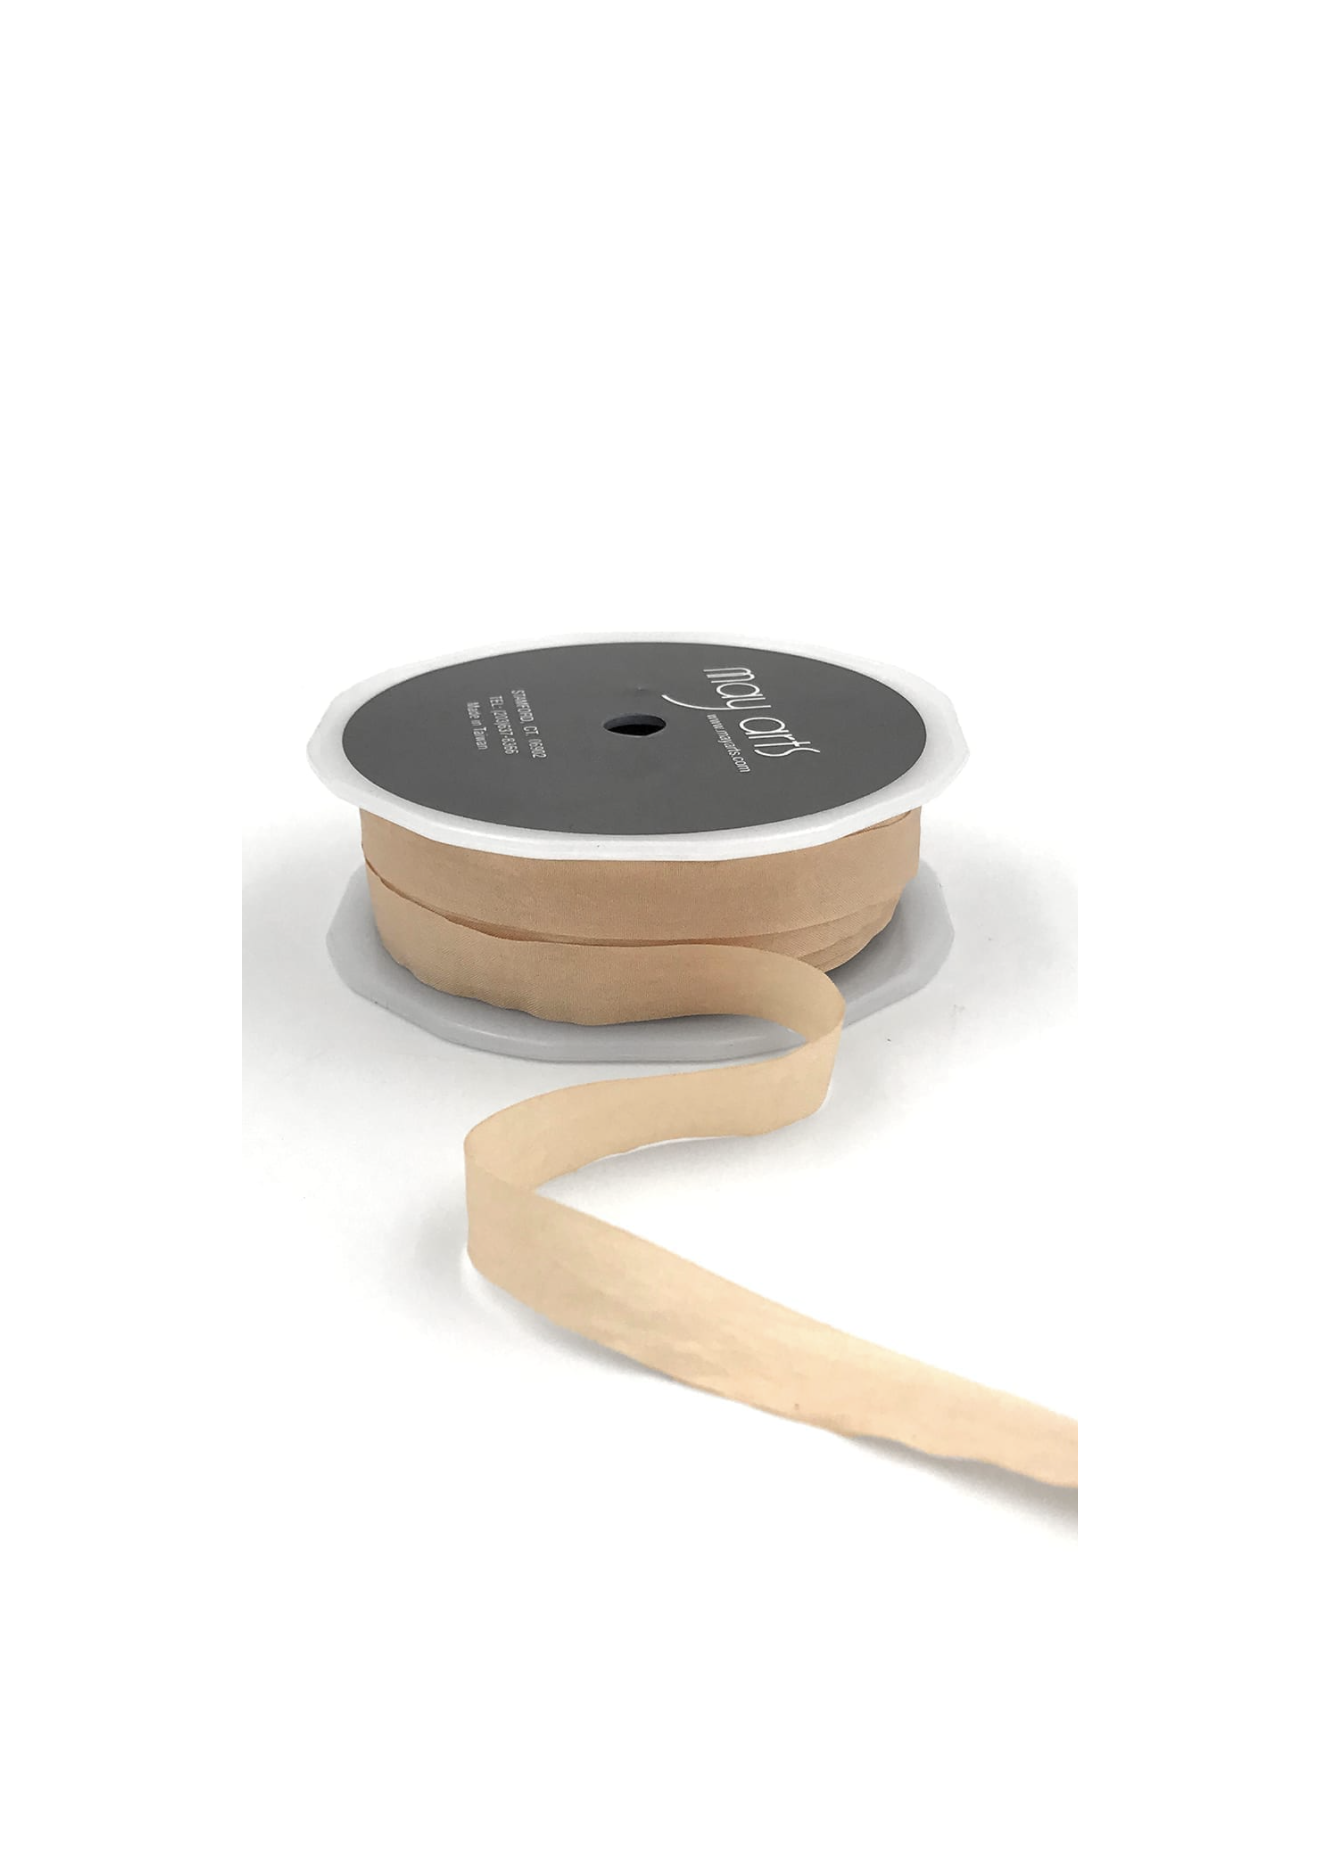
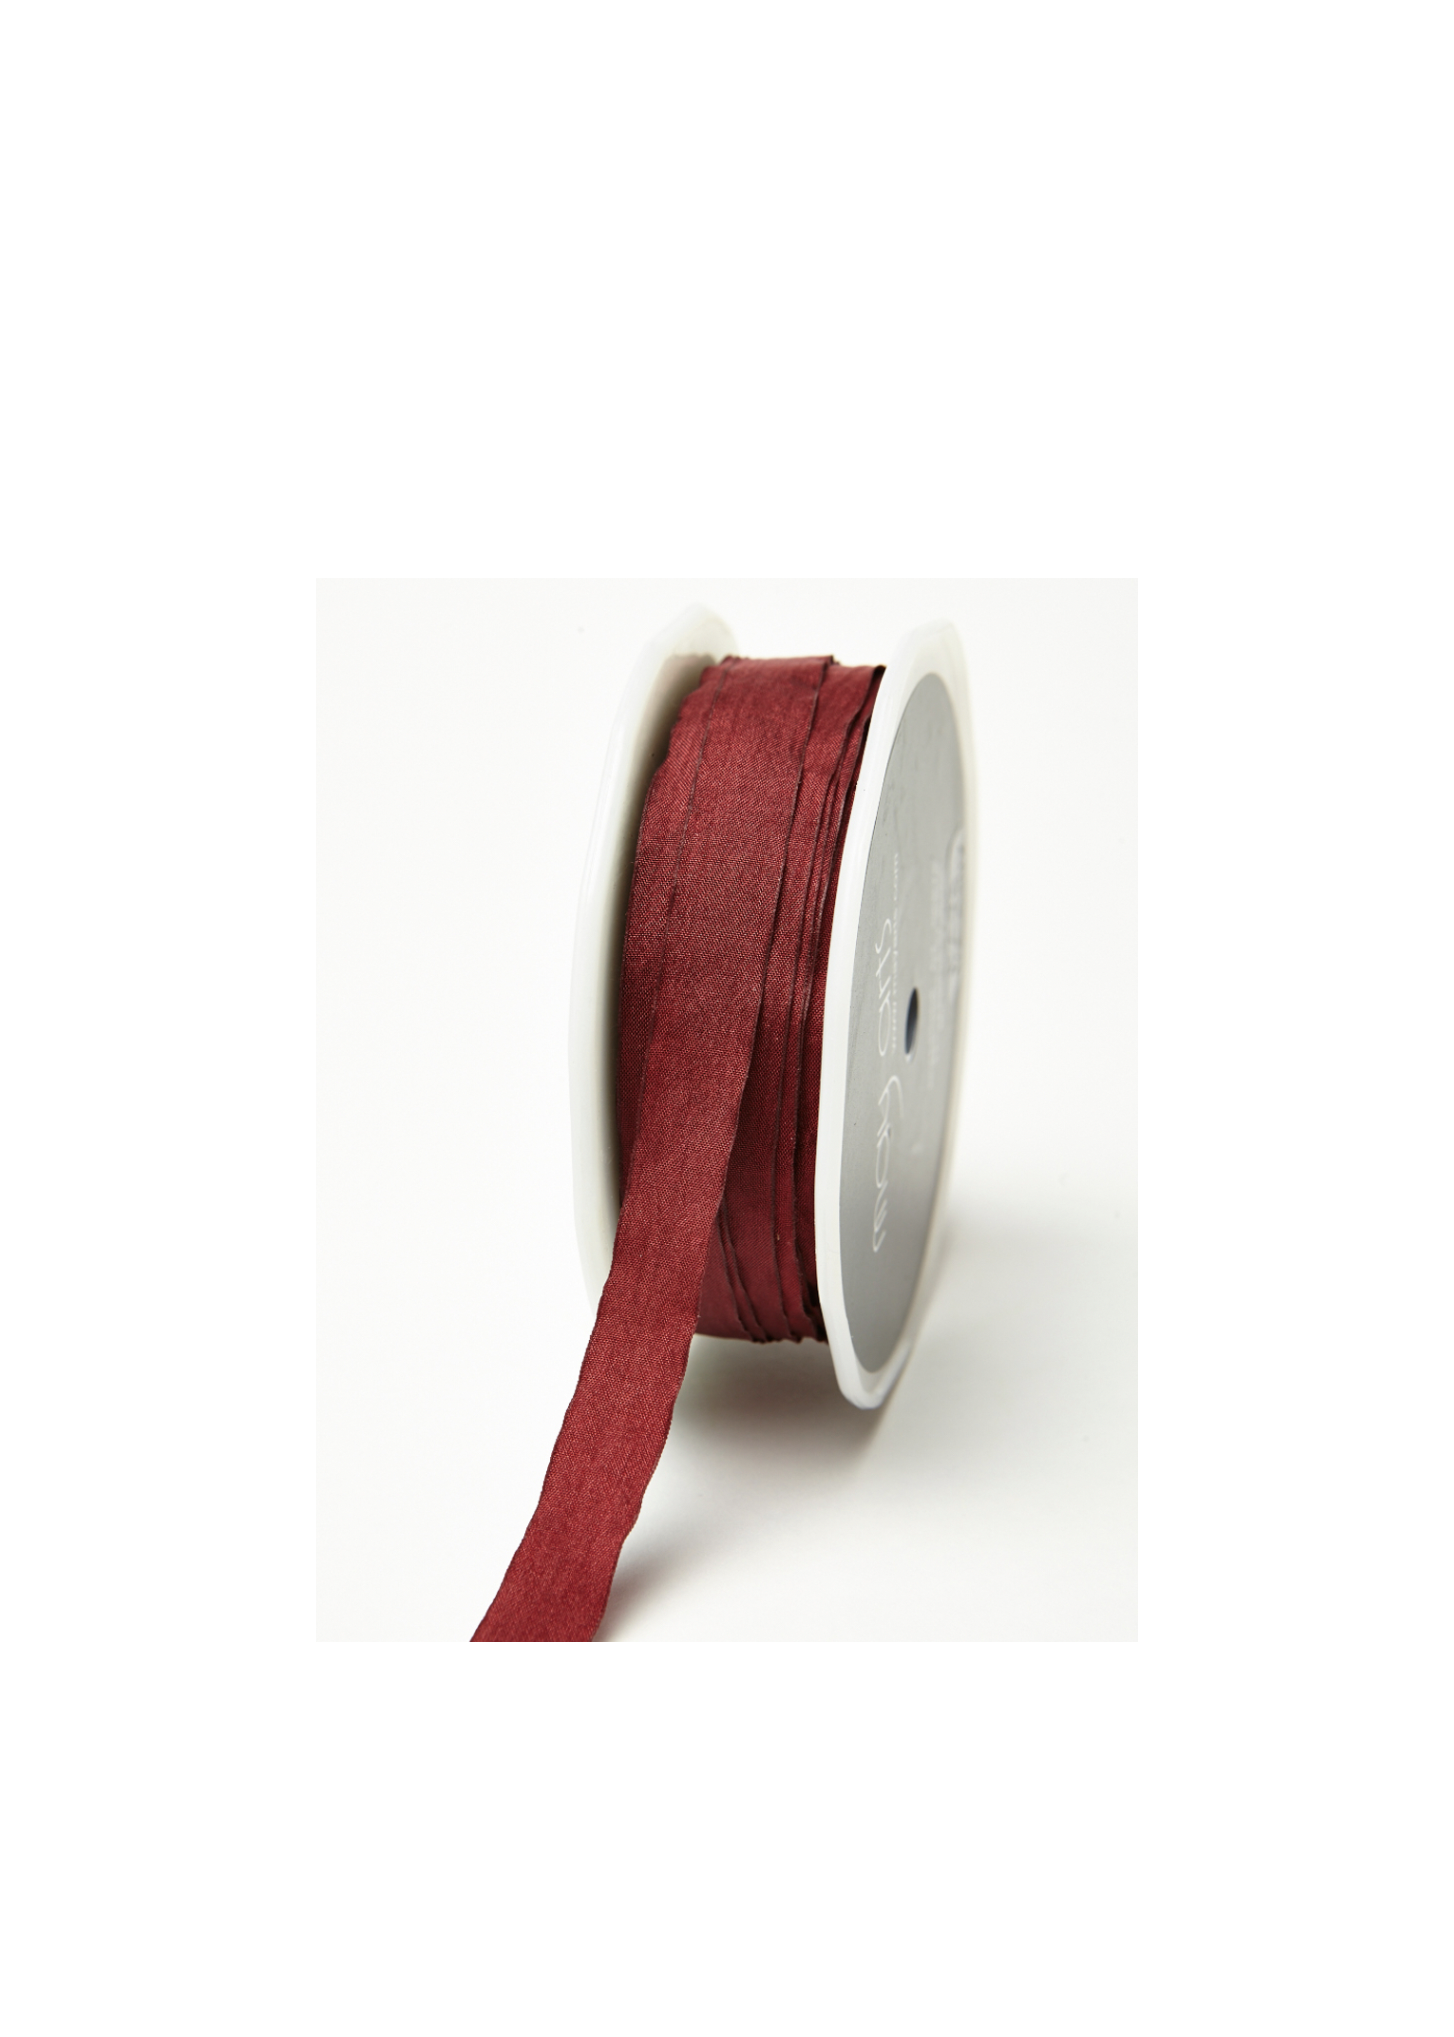
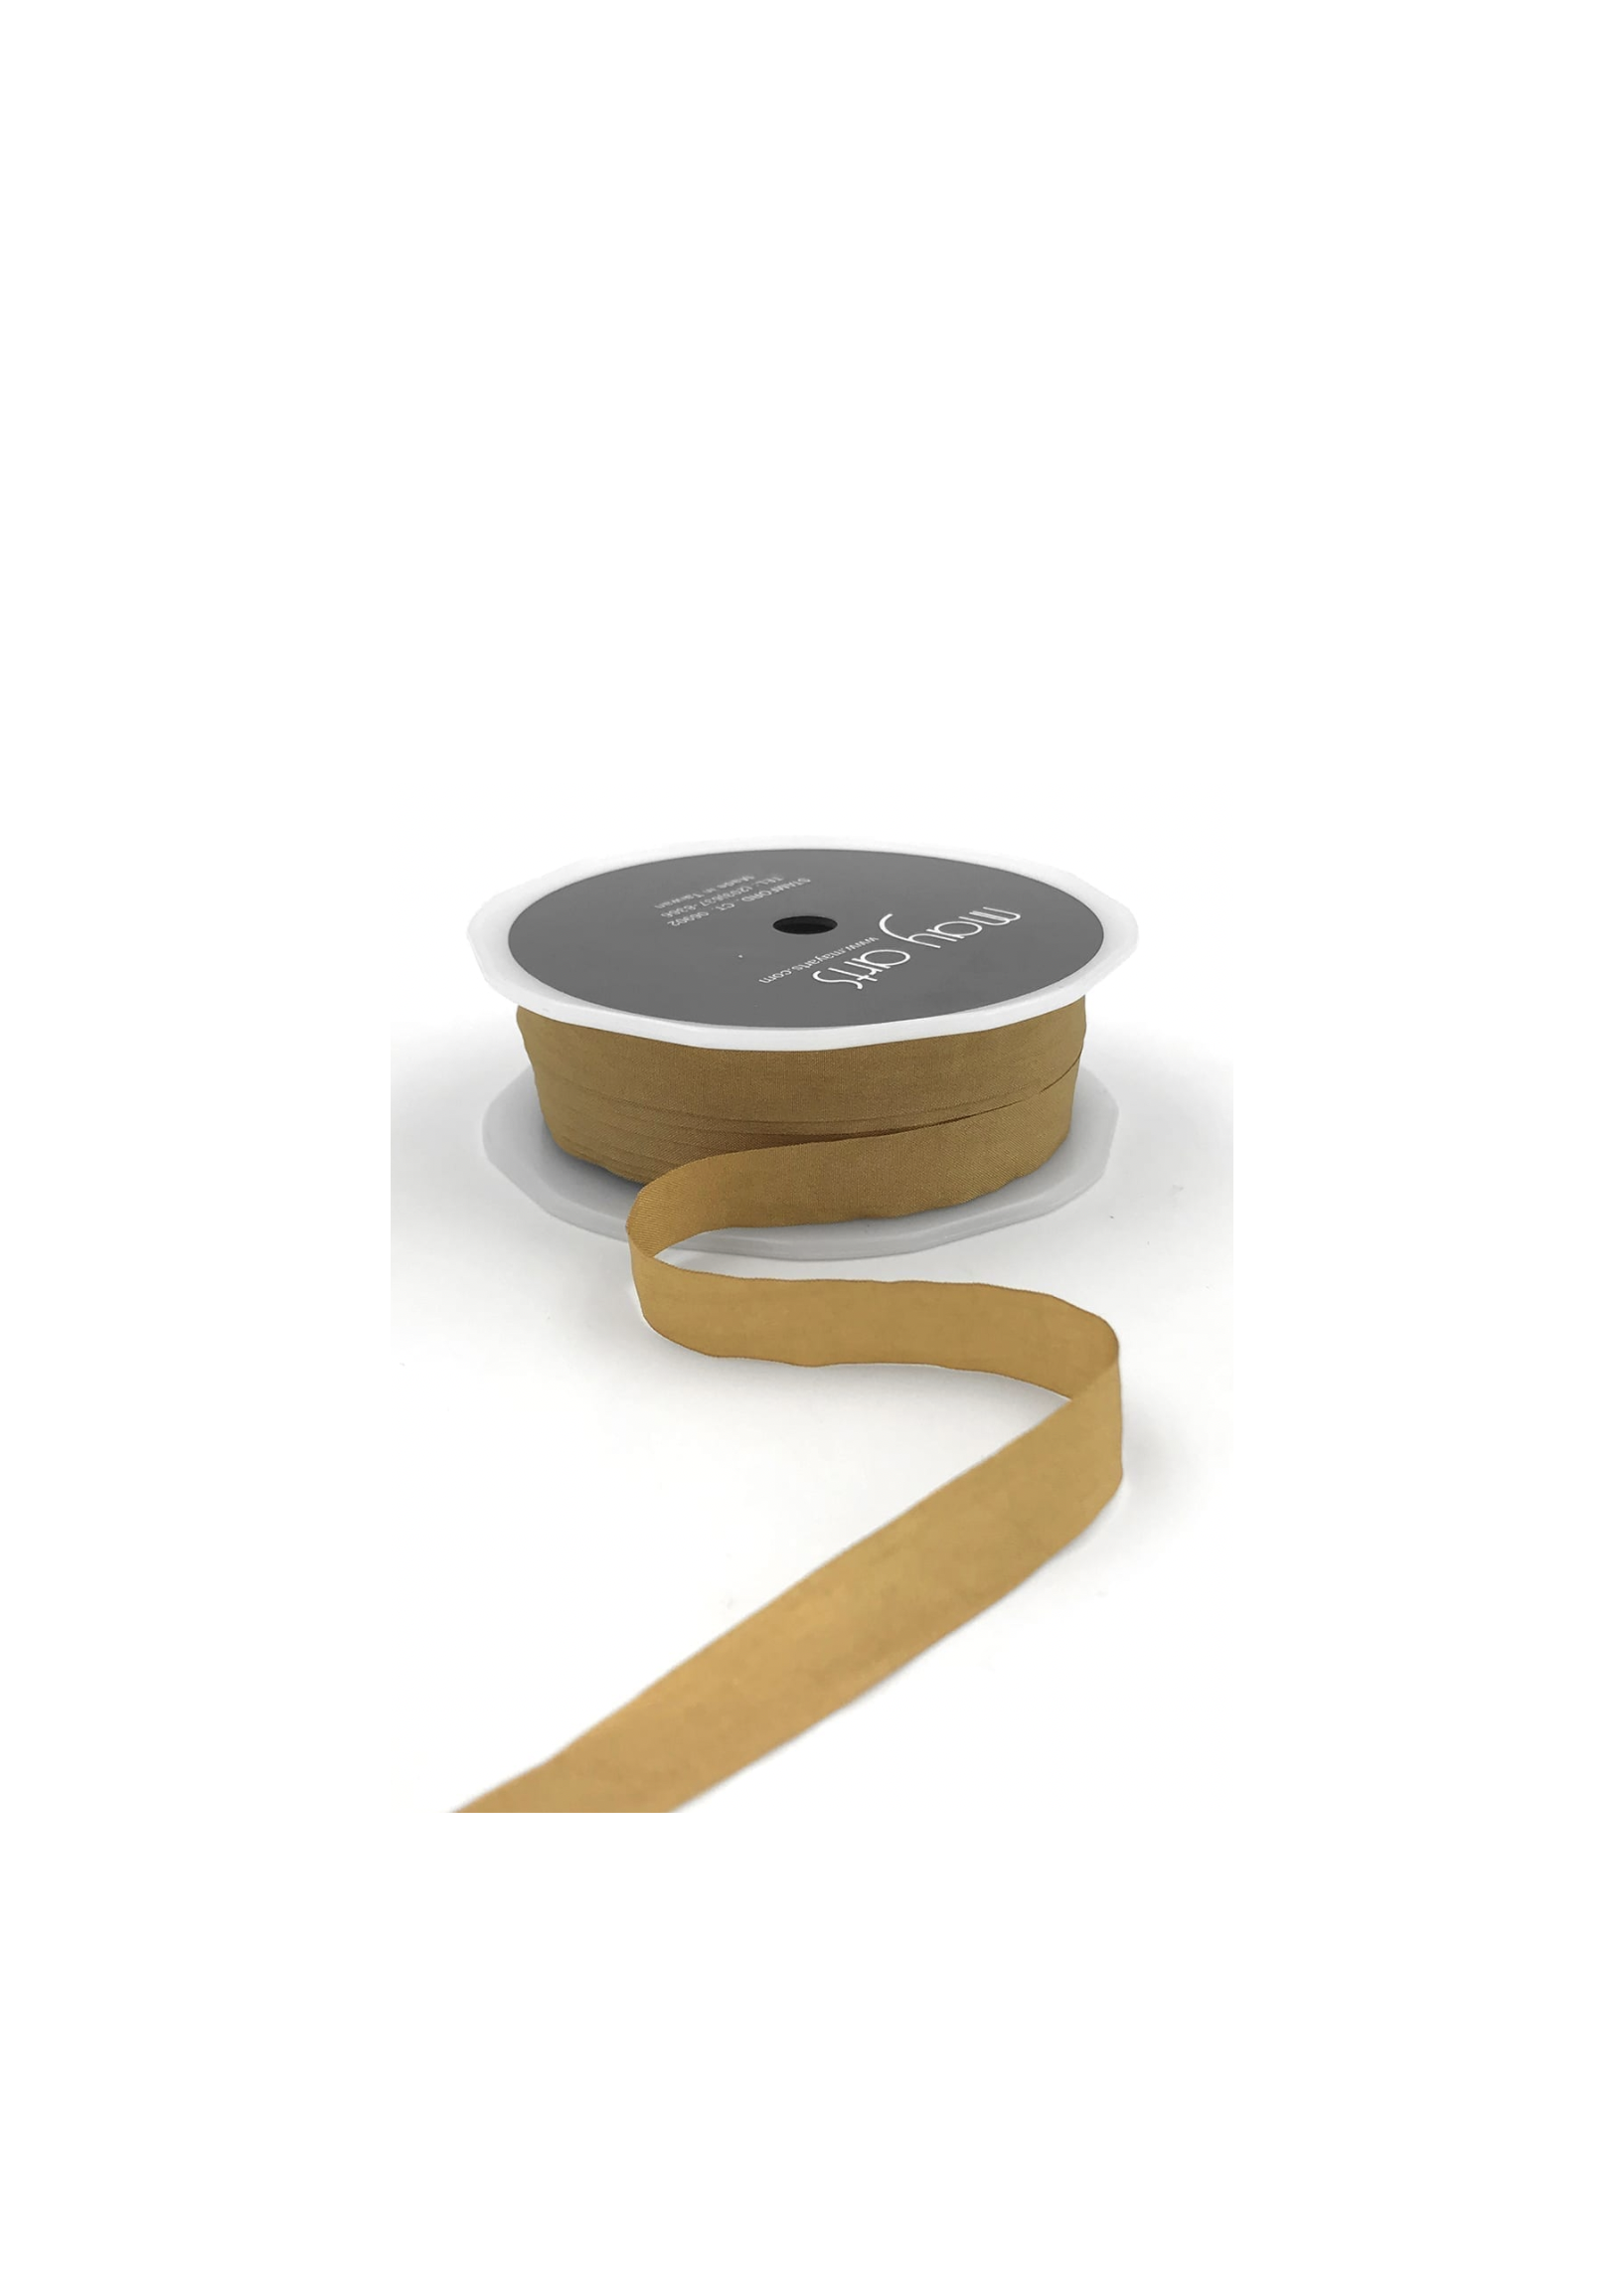
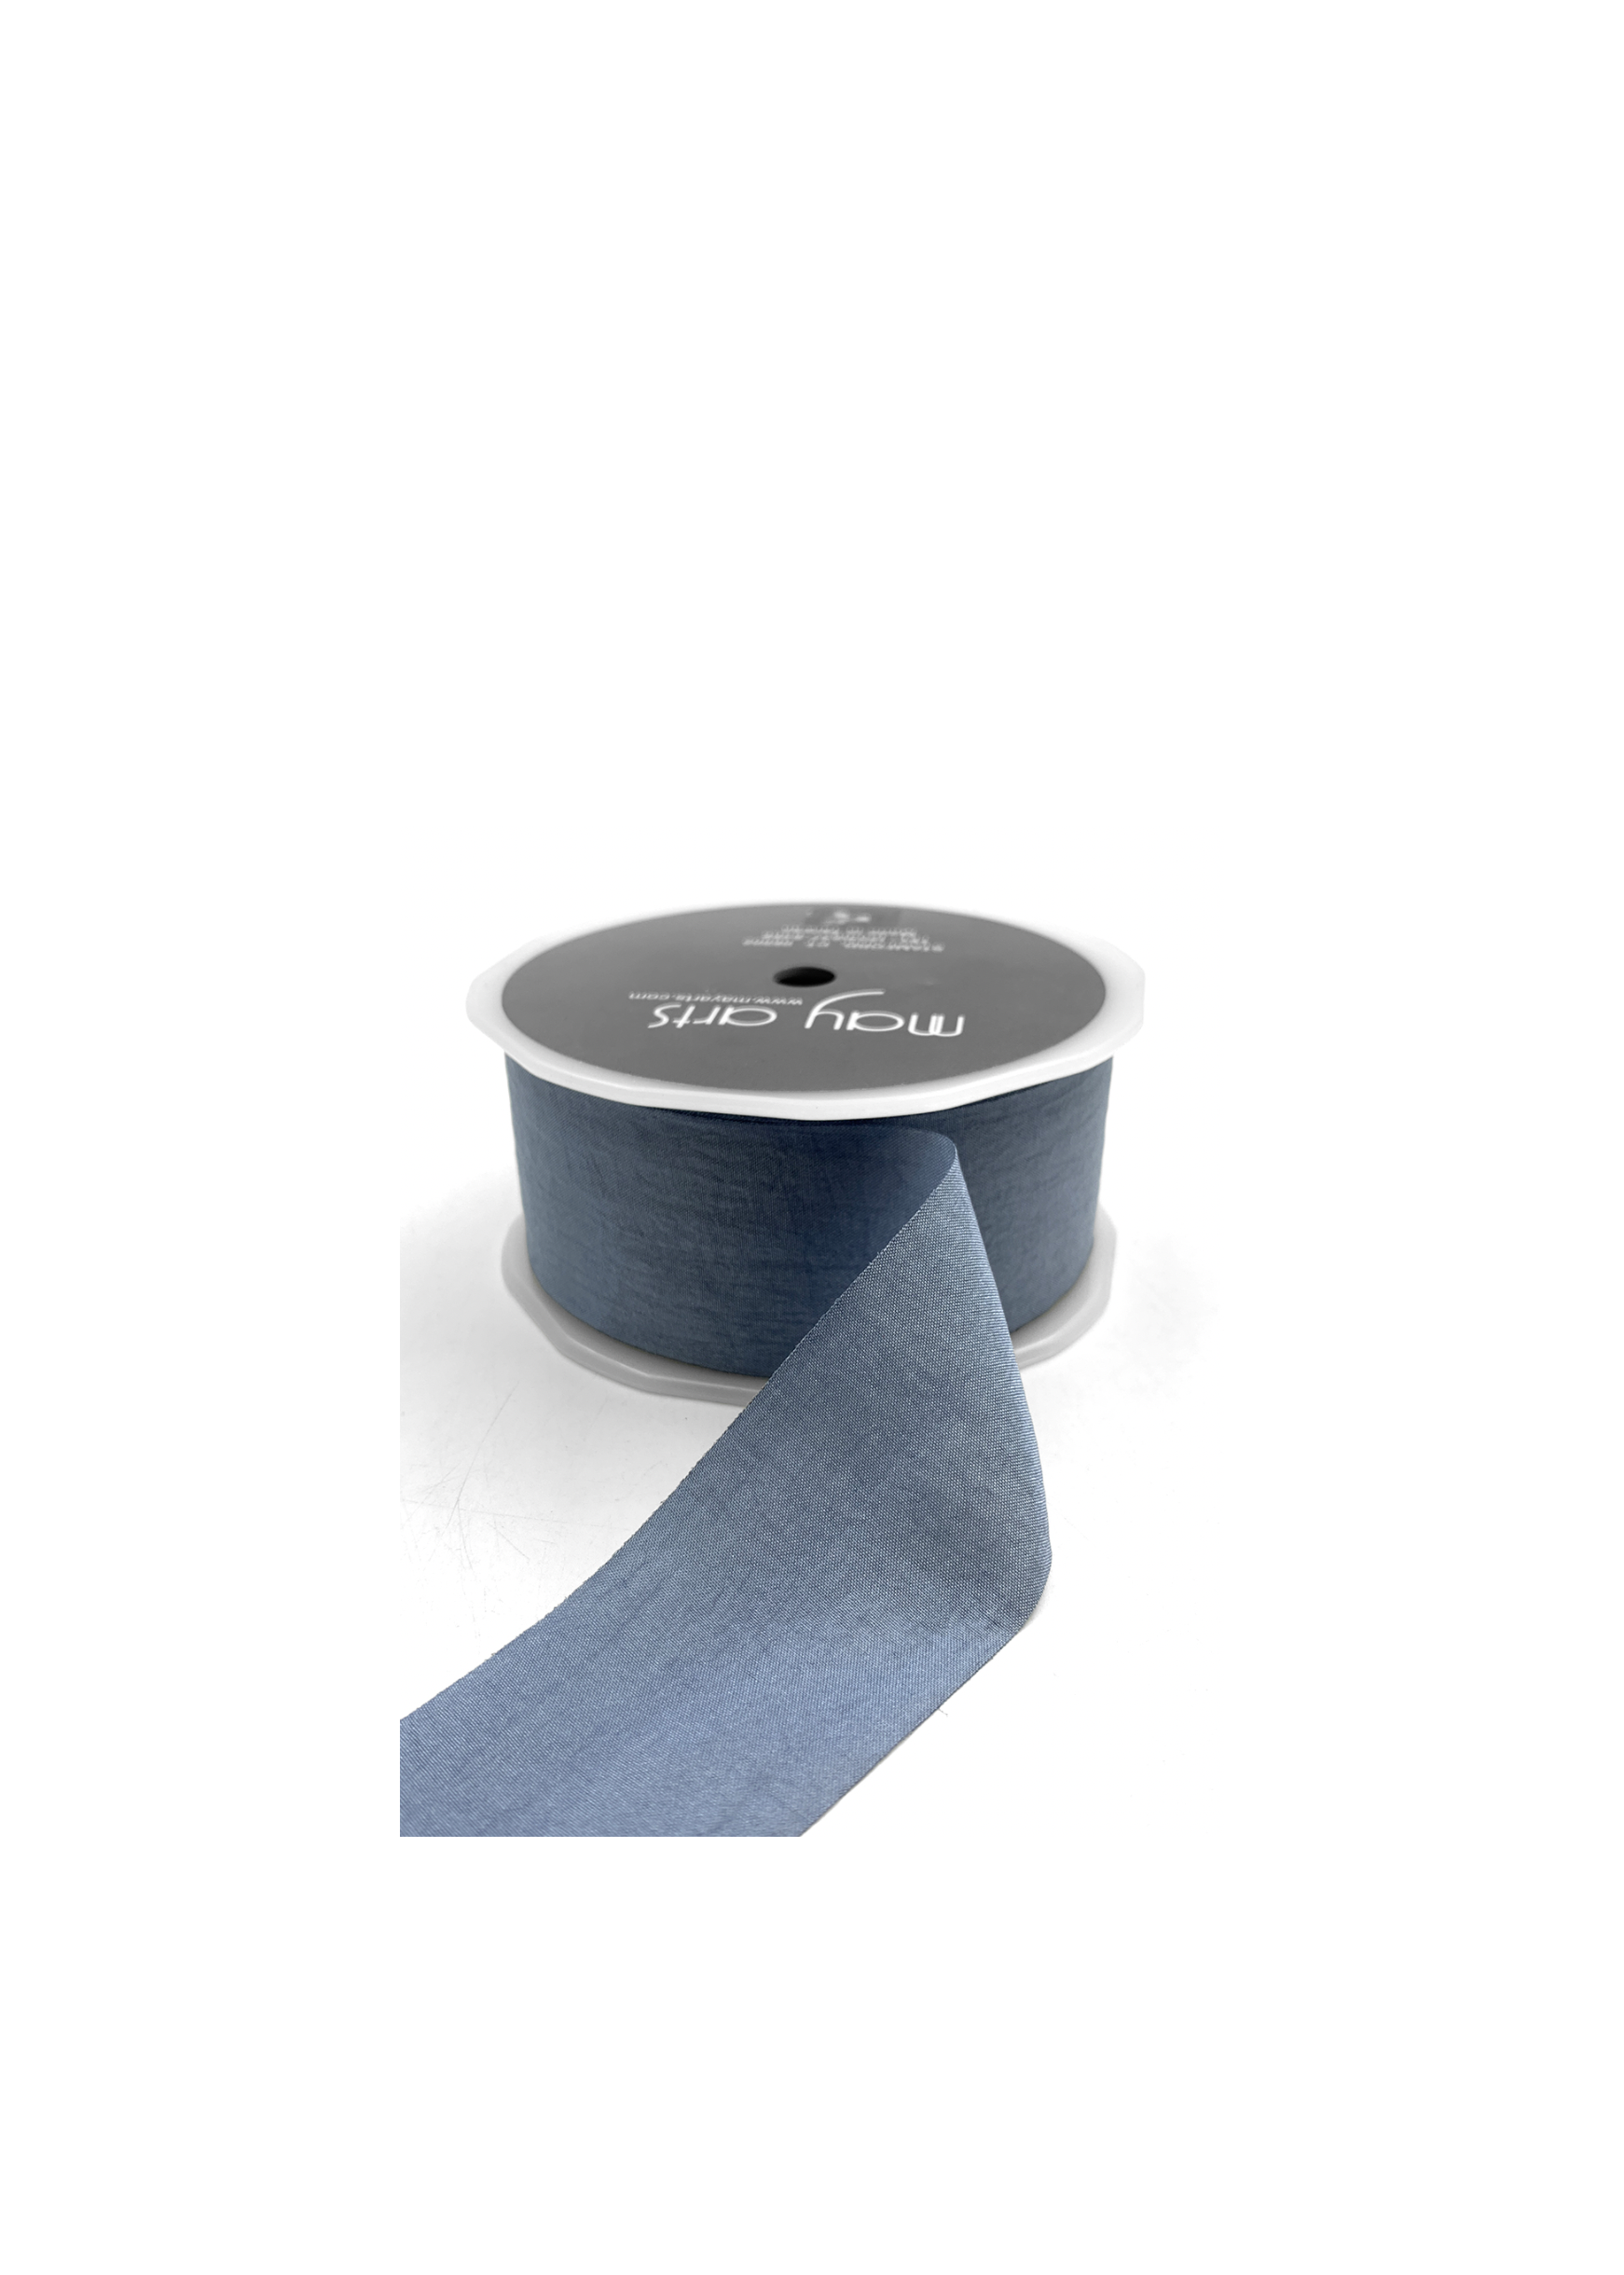
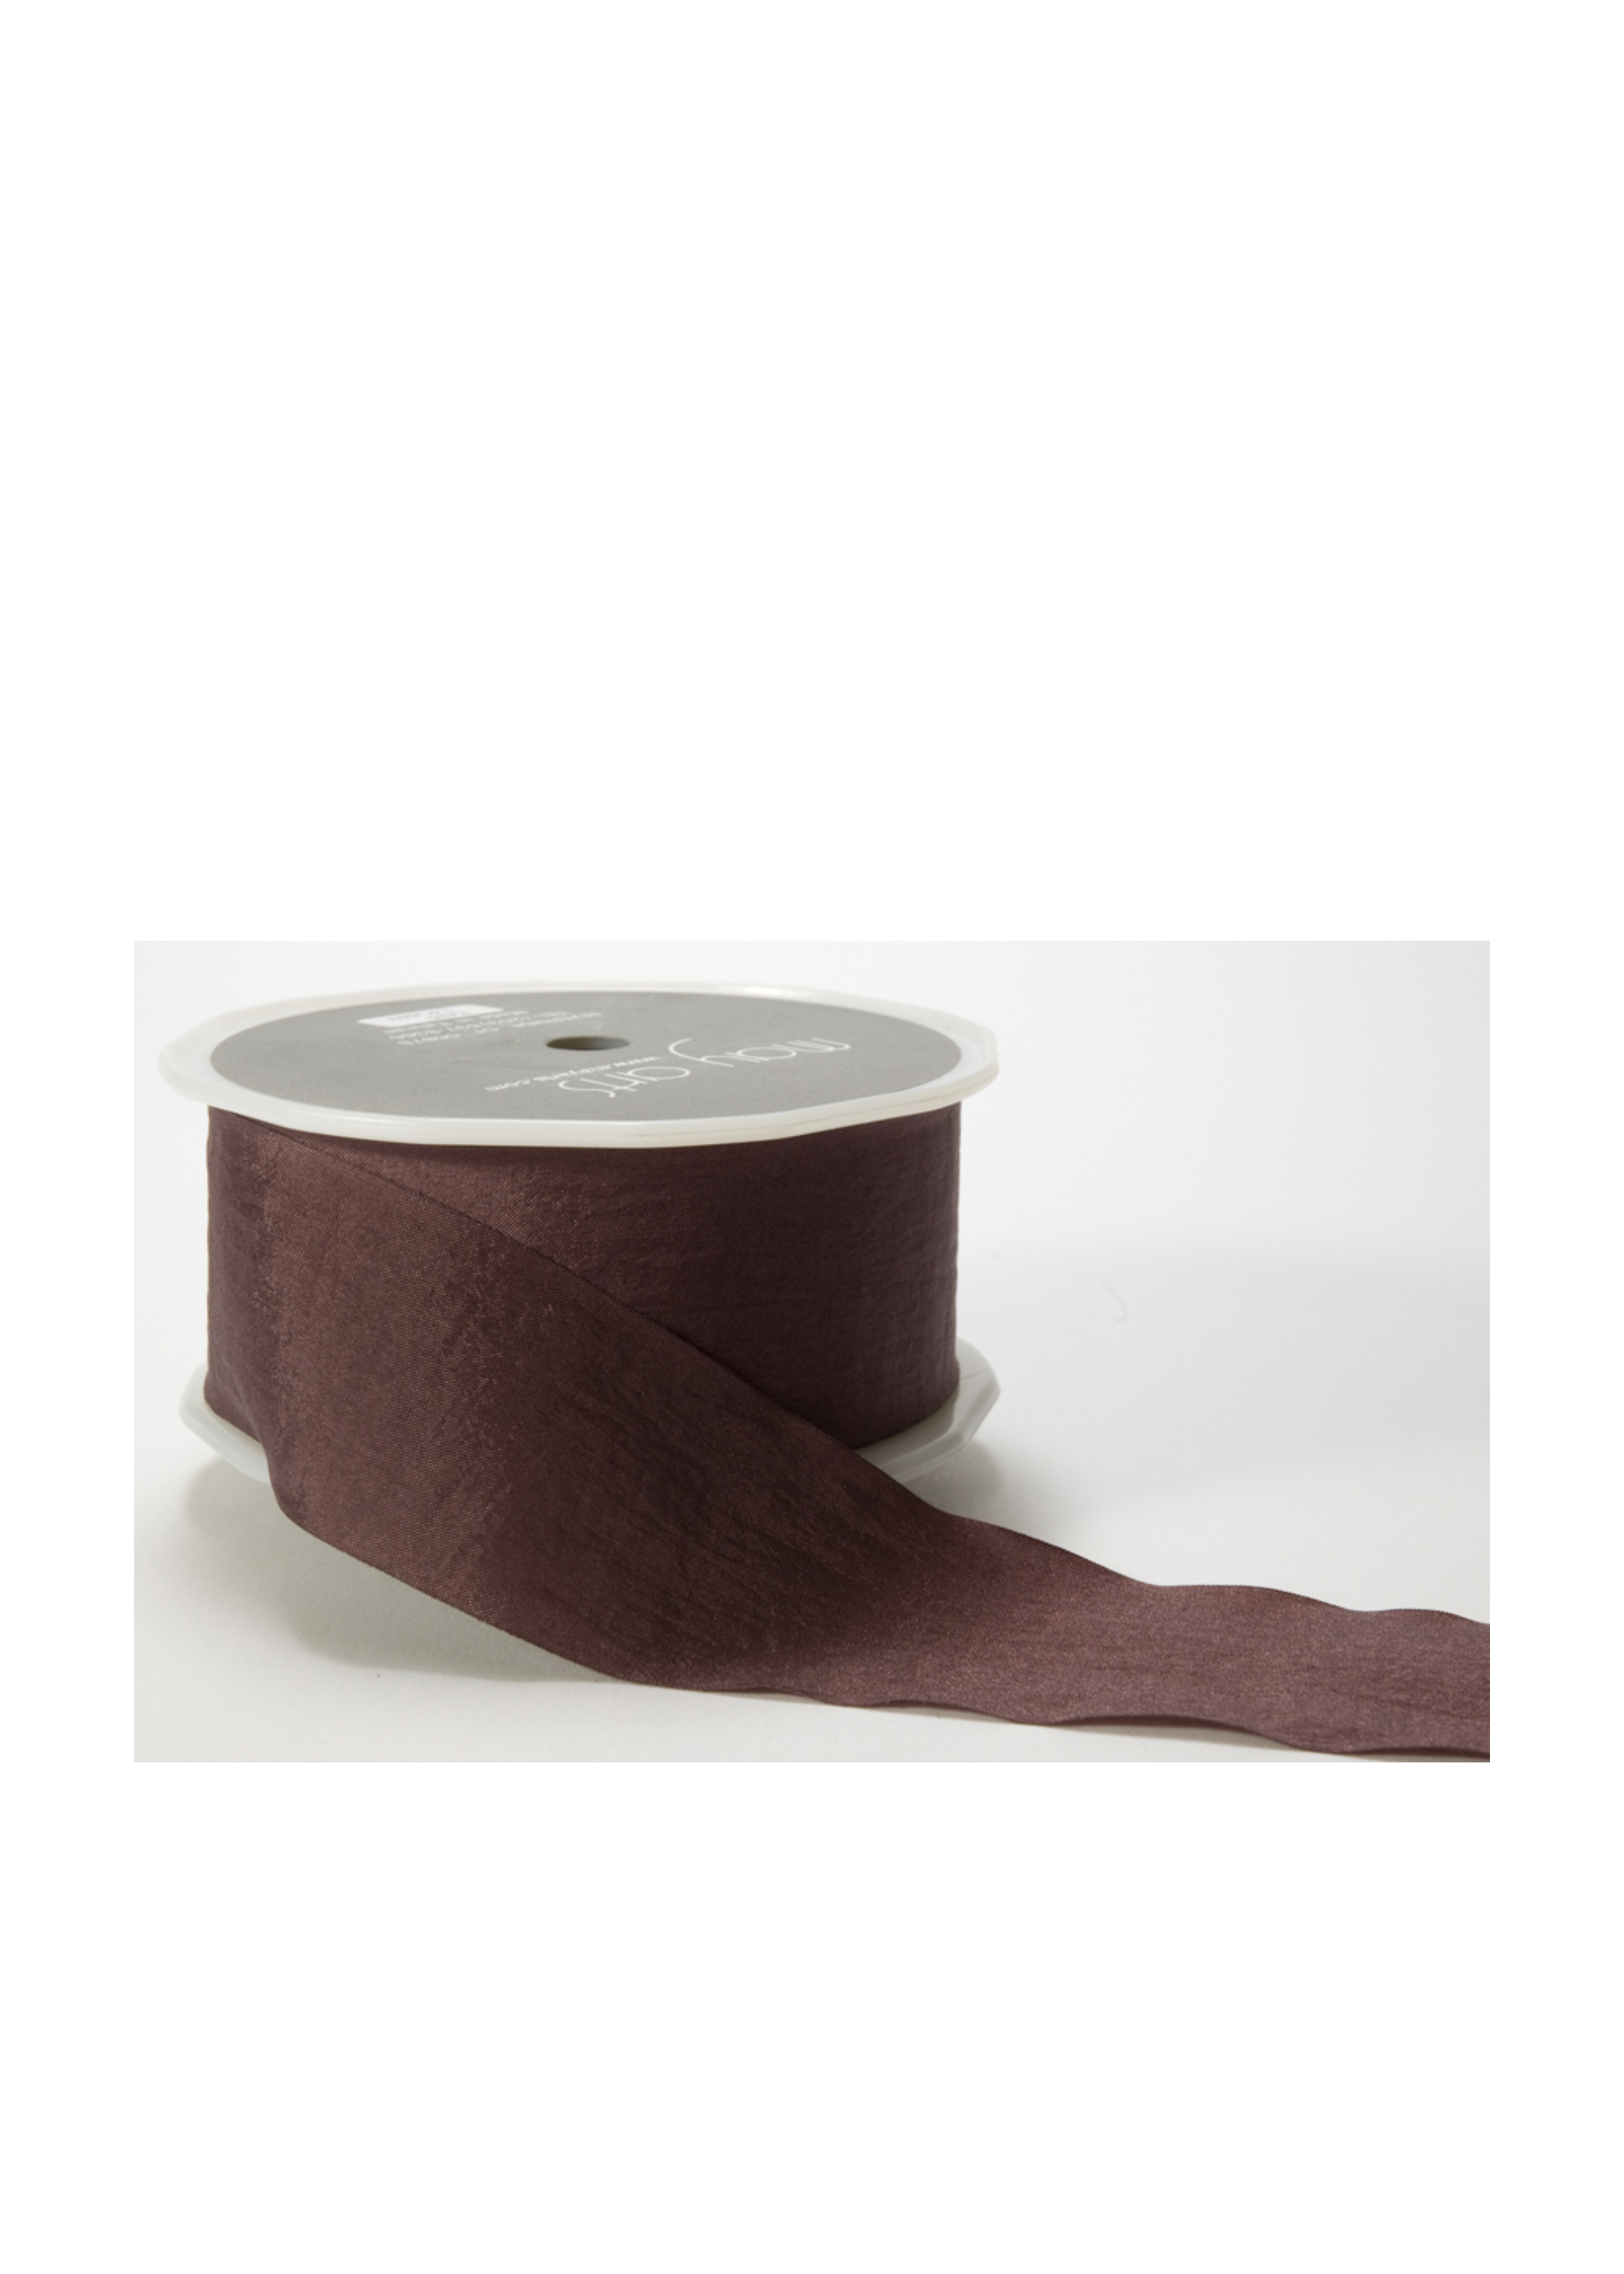
step 2: find ribbons & BELLS you love
You can find beautiful ribbons in local boutiques or online. We love MayArts ribbon. We recommend a variety of colors, widths and textures. Find a color scheme that you love - see the four different color pairings we came up with from some inspiration.
Salt Lake sources for ribbon
Amy Boutique
Knot + Spool
Jolley’s Gift + Floral
We love using bells when decorating for the holidays. It’s a classic way to show off the season and if you’re hanging your swag on a door, they pleasantly ring as the door opens and closes. Choose a bell that reflects the mood of your holiday decorations. Some are more traditional and others are more organic or eclectic. We found our variety of bells on Amazon.
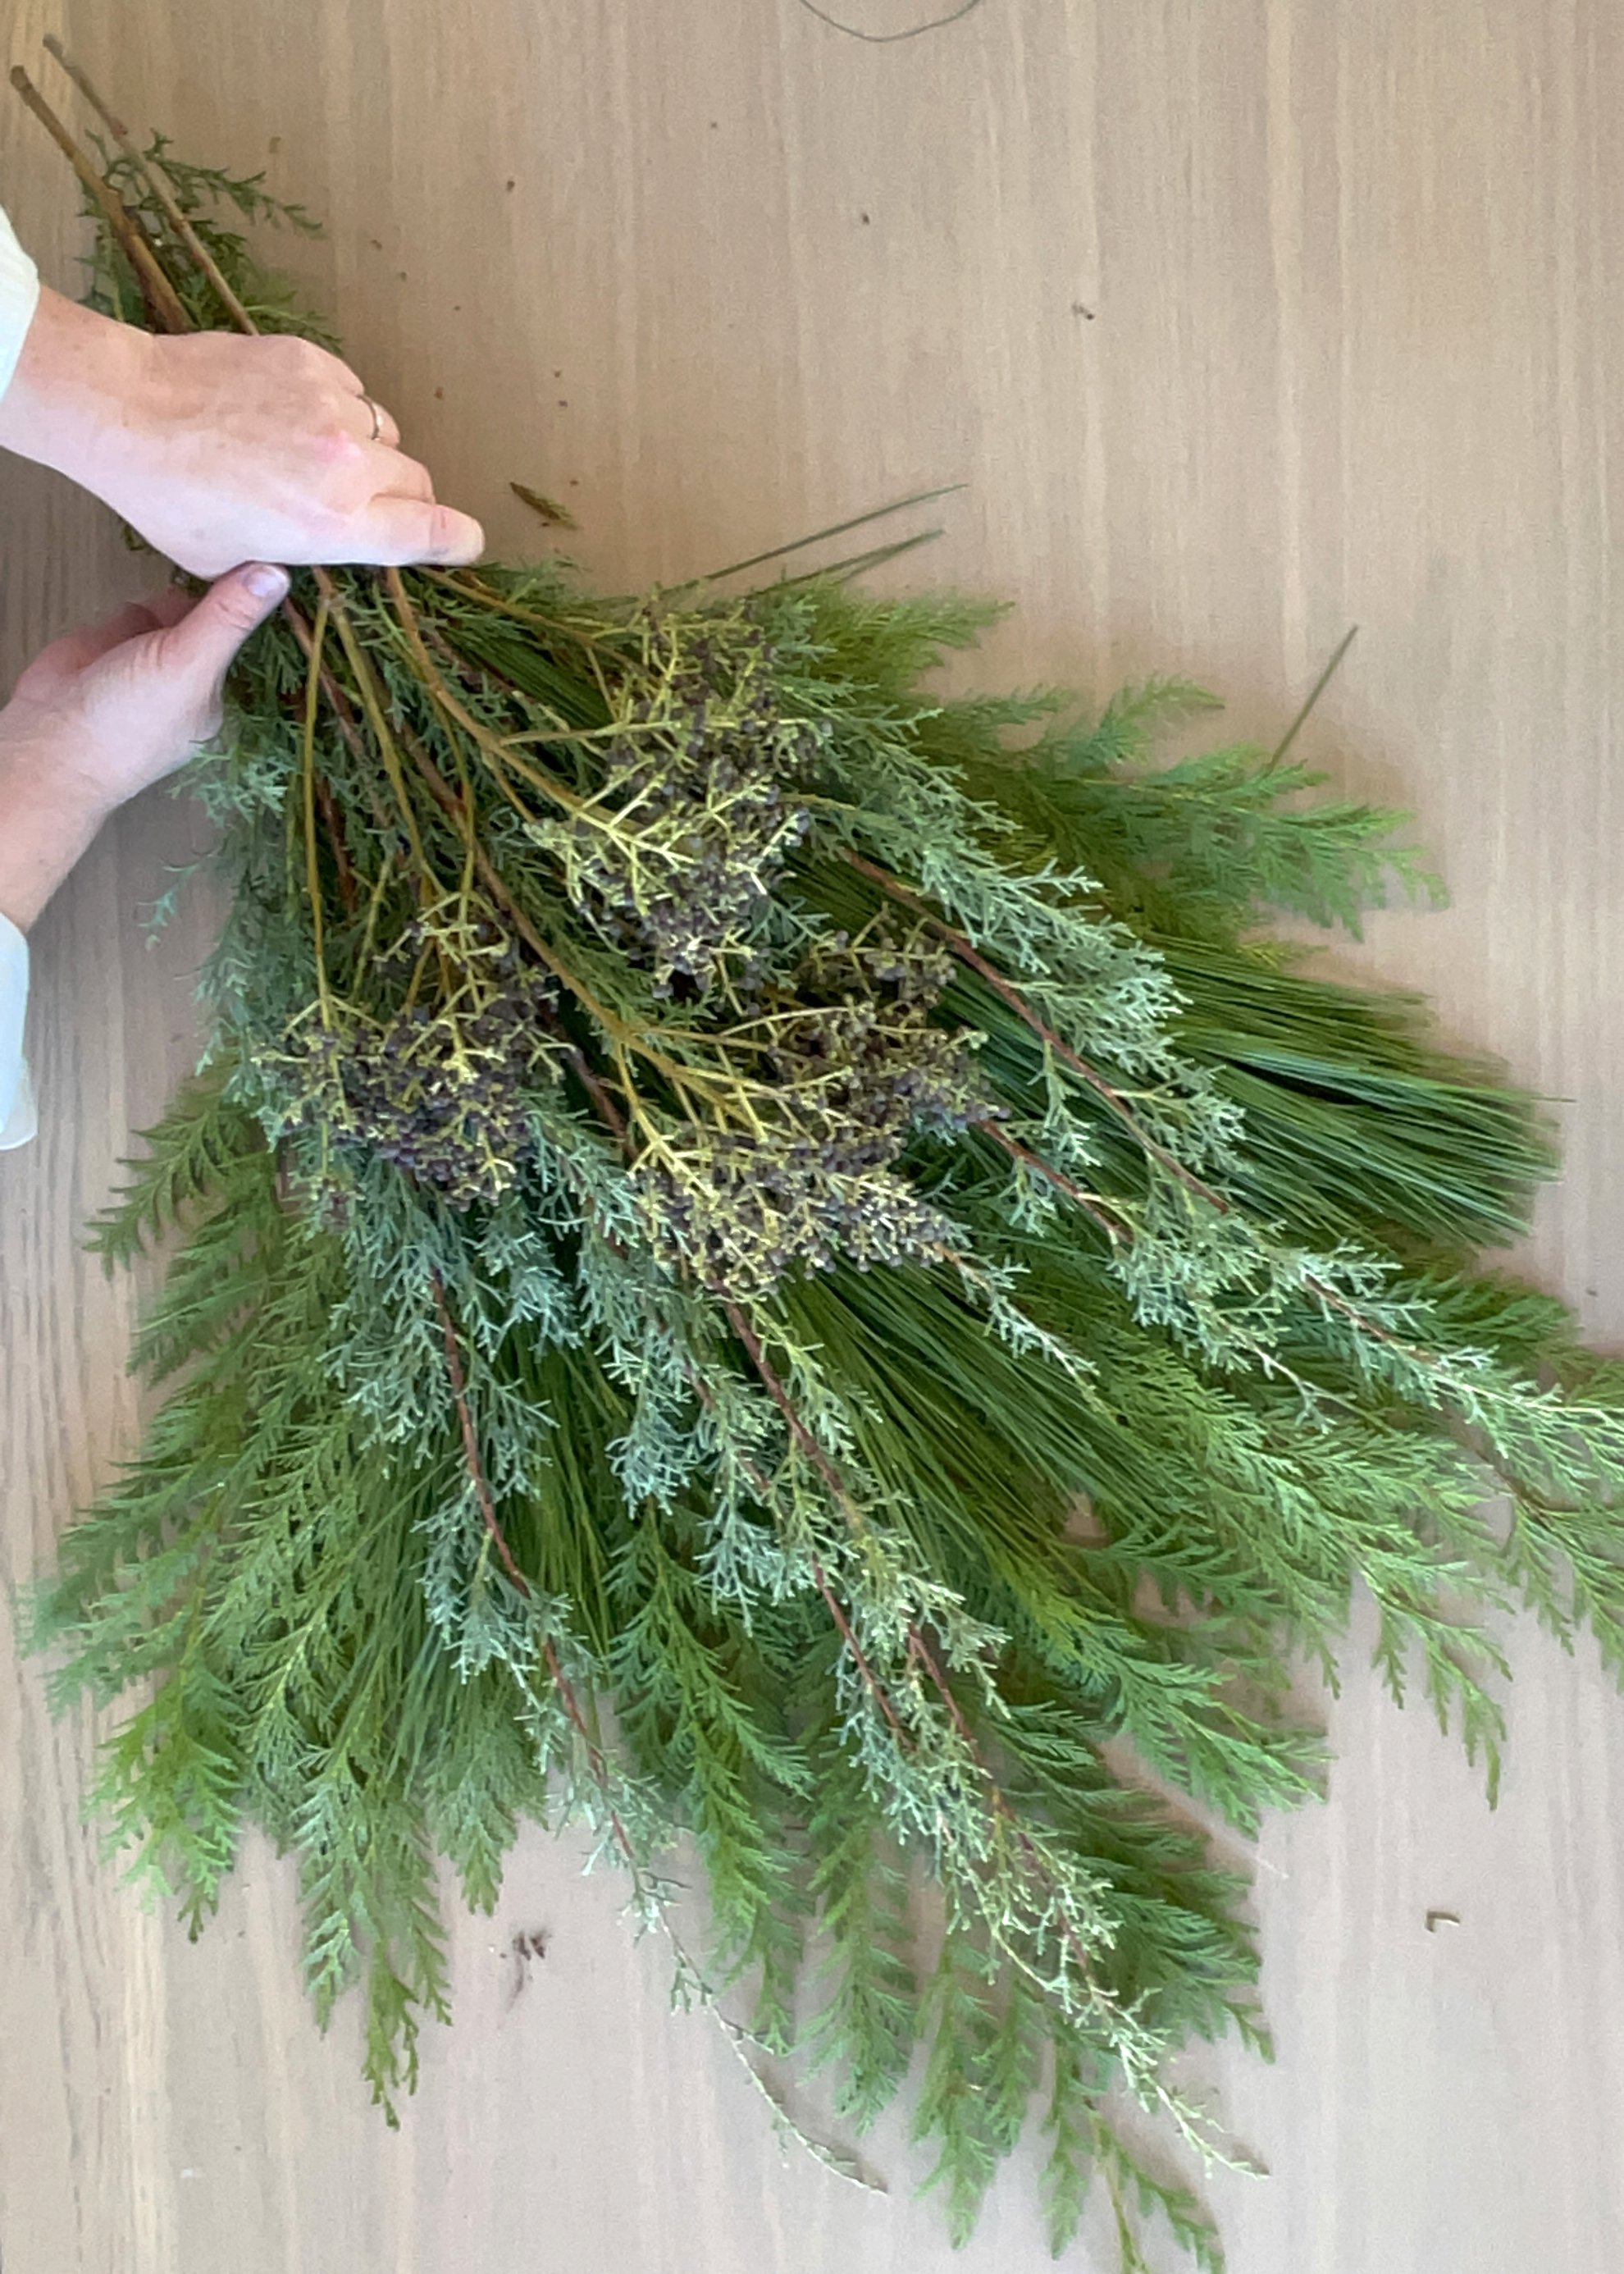
Step 3:Bundle Your Greens
We like somewhere between 2-4 greens to give the desired depth and texture, but you could go with all one green that would also be very pretty. Cedar is a great choice here.
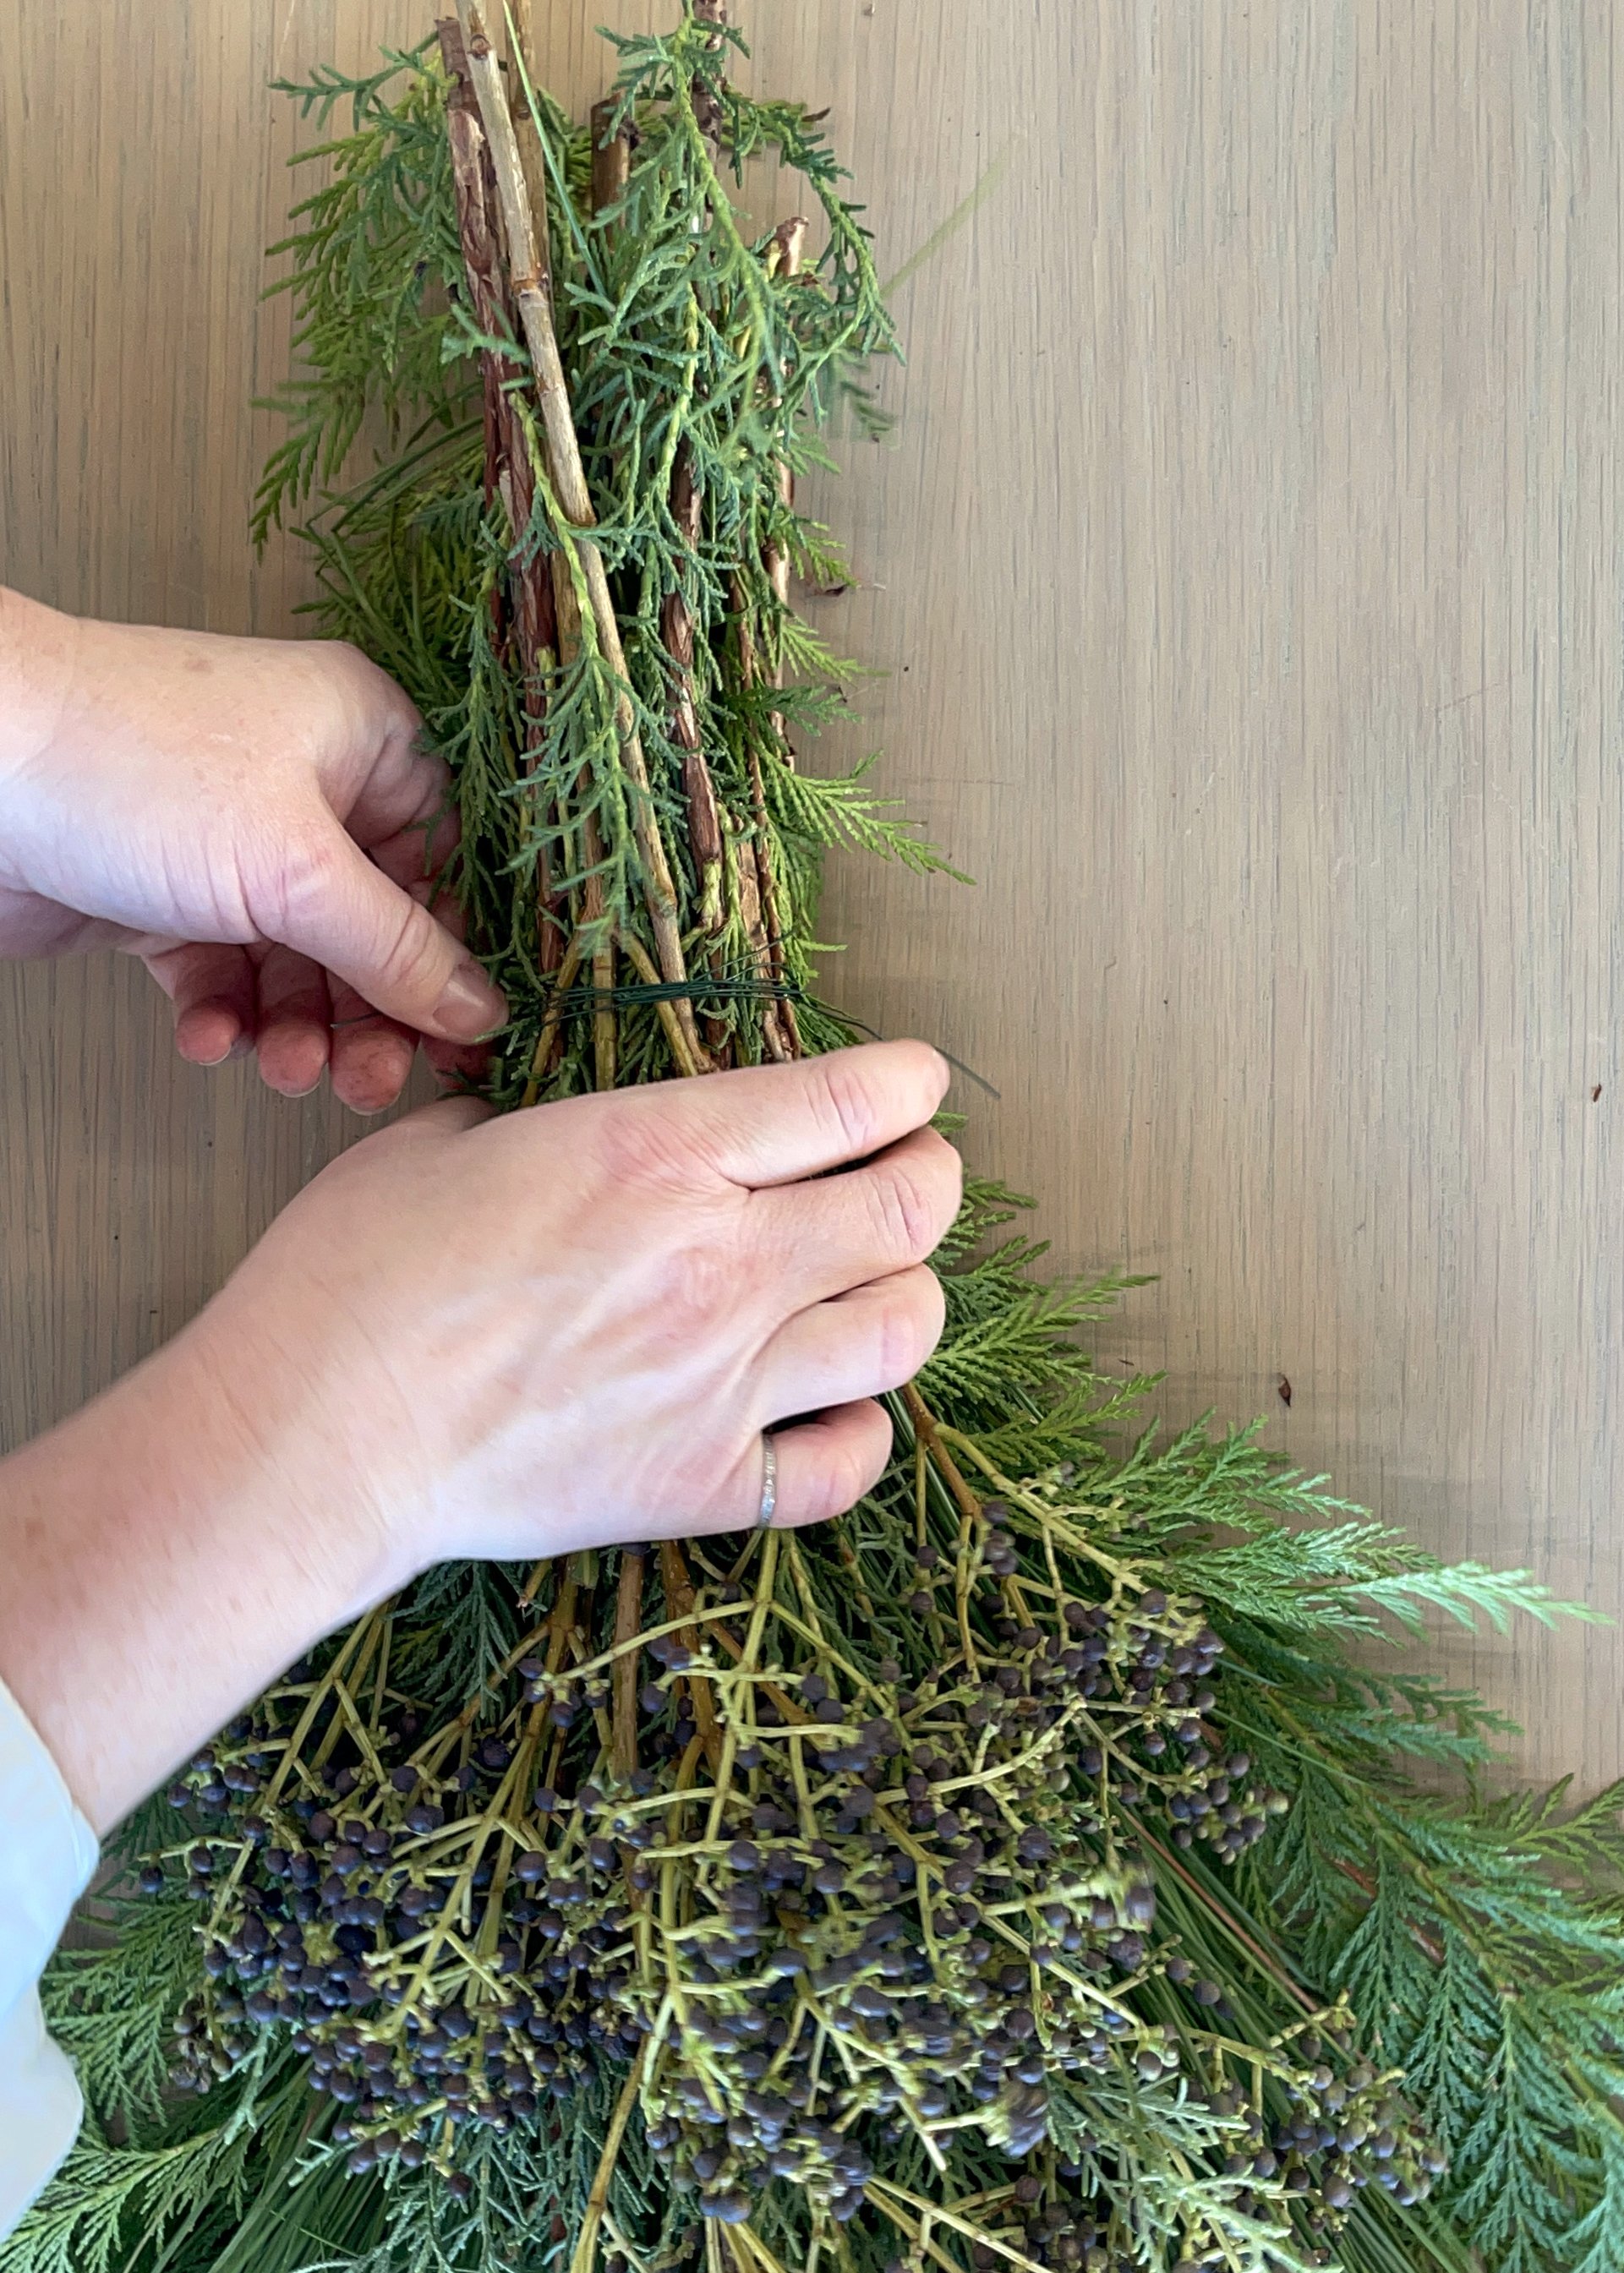
Step 4: Secure Your Stems
Wrap with floral or decorative wire to secure your bunch you’ll want to cut at least a yard. If you wrap the wire strategically, you can create a little loop to make hanging easy later.
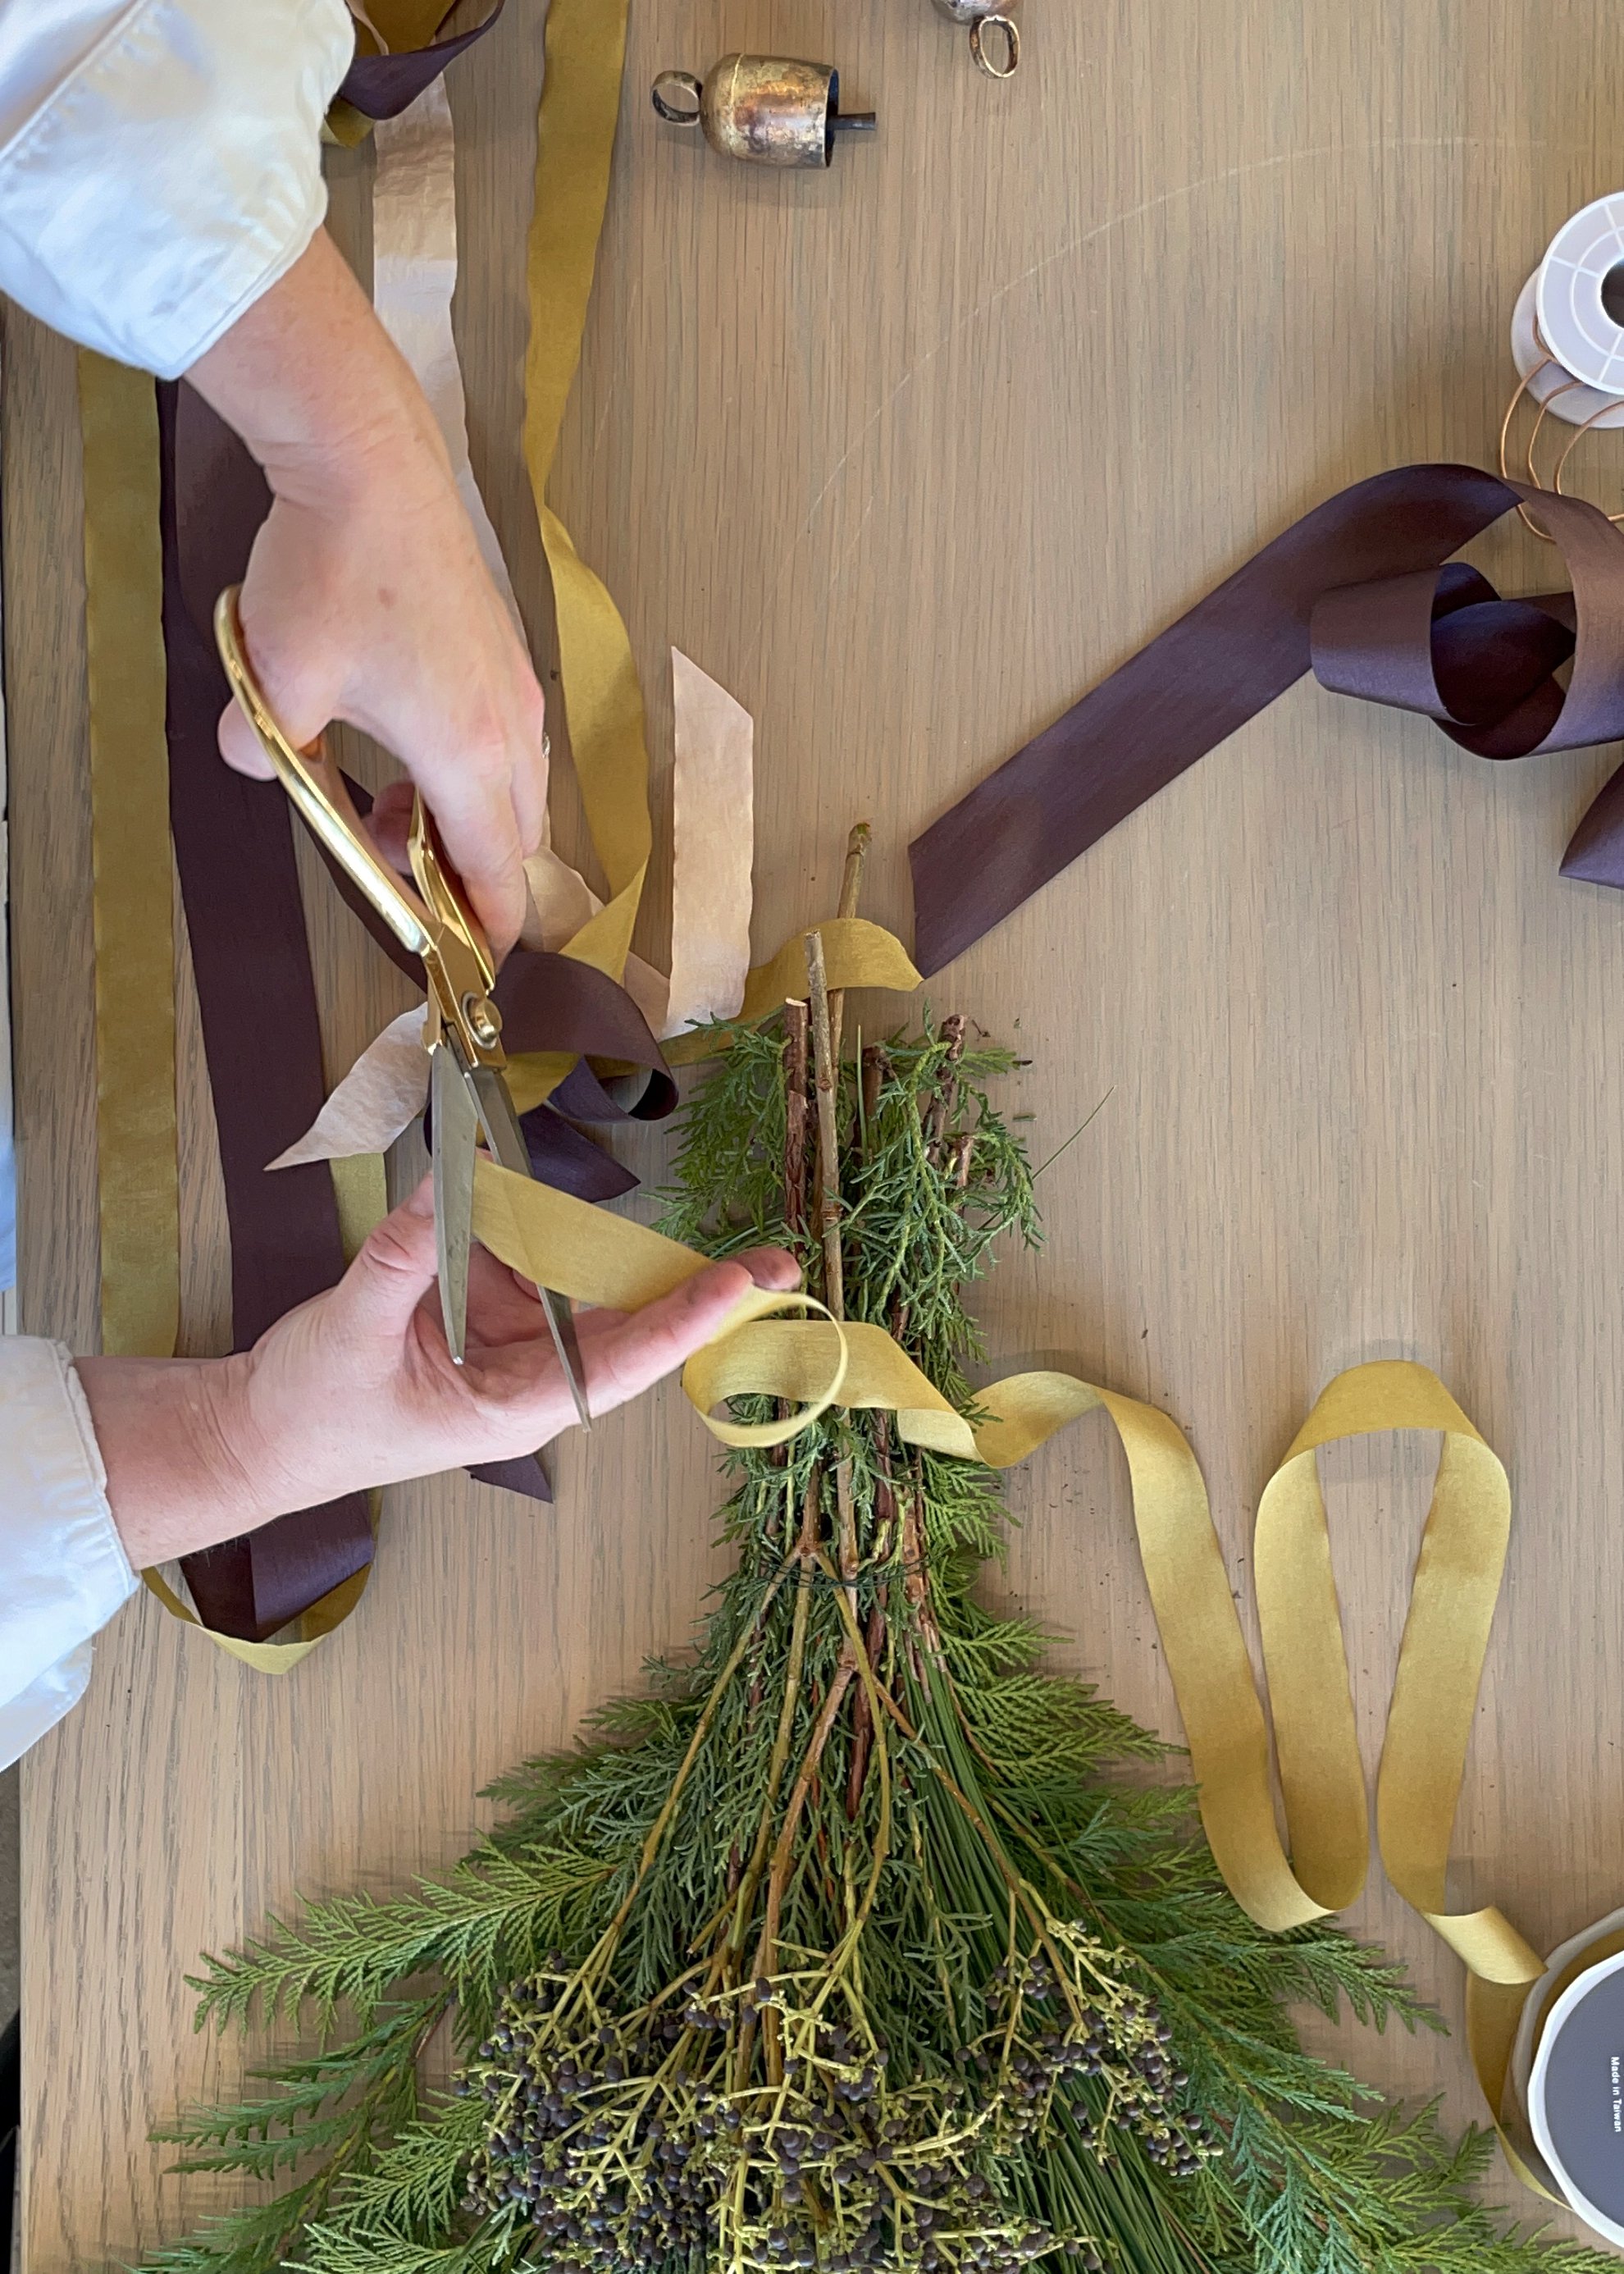
Step 4: Cut + Tie Ribbons
We recommend 1.5 yards of each length to start, you can trim it up at the end. We find it’s better to have more than enough.
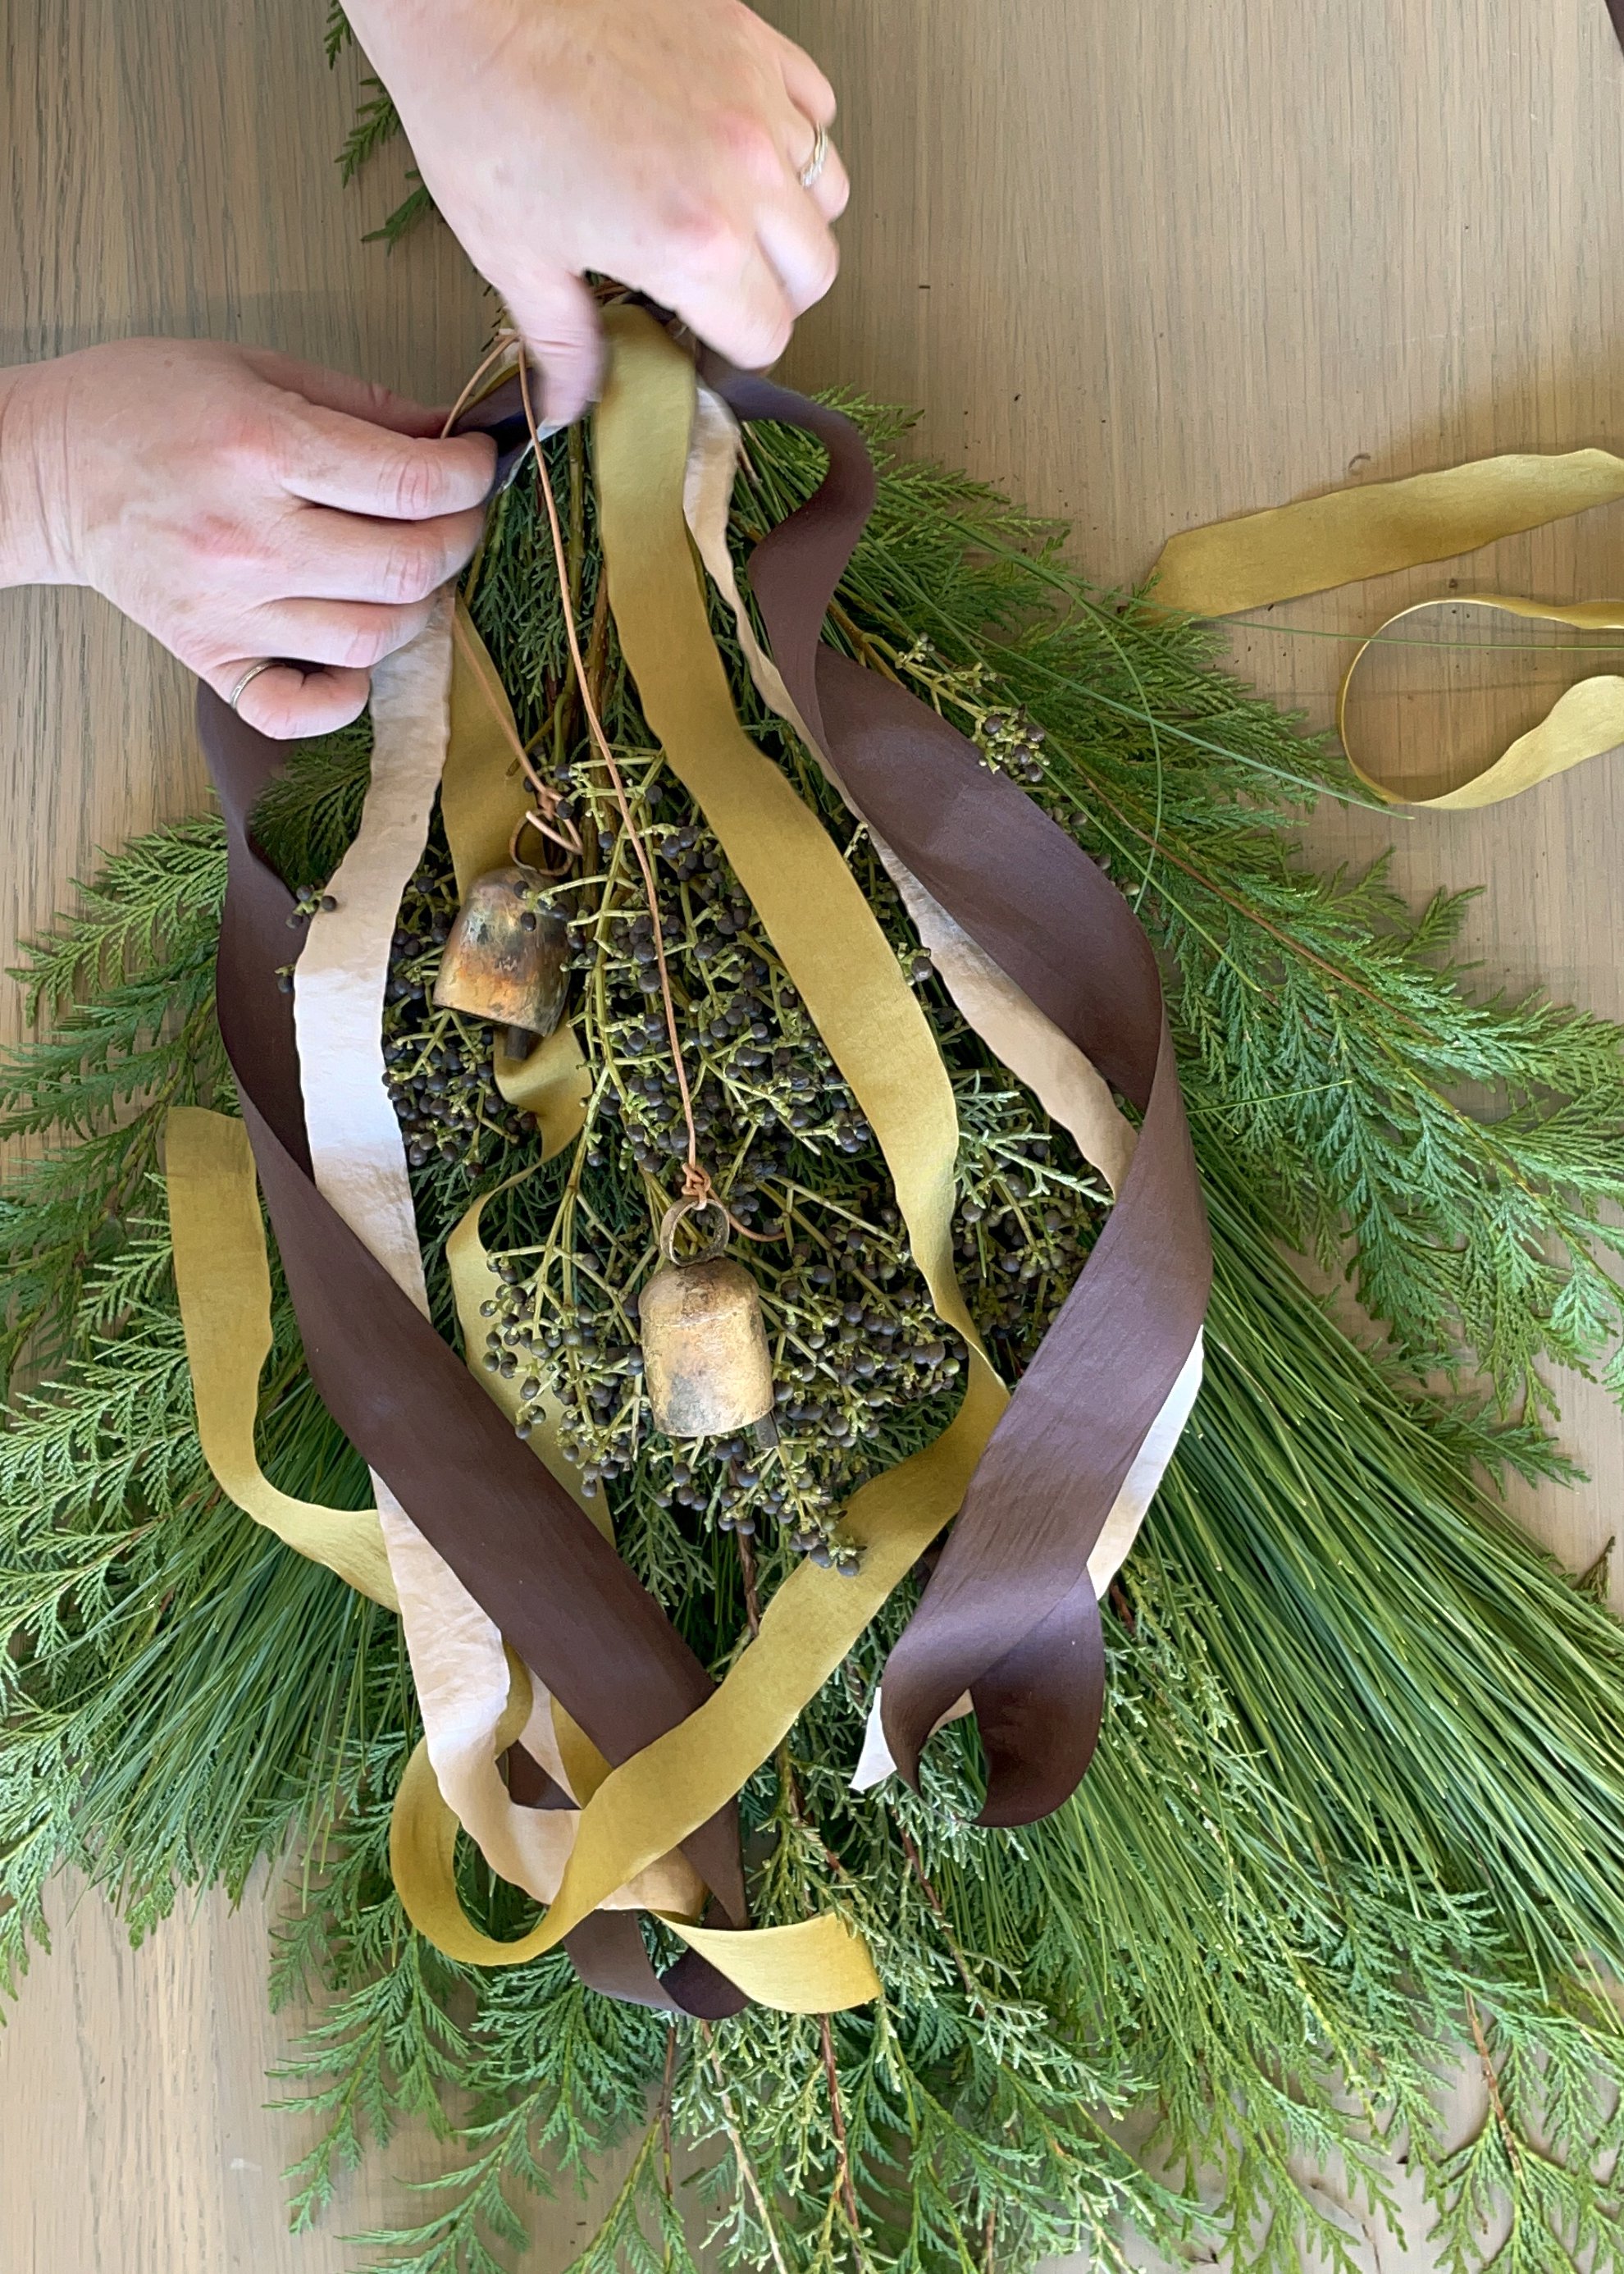
Step 5: Add Bells
We like using leather cording or metallic wire to hang them, you can also hang them from extra strands of ribbon. Be sure to tie your bells at different lengths so they don’t sit in the same plane as each other.
Step 6: Trim it up, HanG + Enjoy!
Hang one on your front door, a few in your windows or from a wall sconce and enjoy it all season. To lengthen the life of your fresh greenery, spritz the swag with water every few days.
Shop Supplies